How to customize your Web Widget appearance
Estimated Reading Time: 3 minutes
Applies to: All plans
Quick Summary
You can customize the appearance of your Web Widgets so they align with your brand and website design.
Trainin allows you to adjust colors used in widgets, including the Schedule header and the booking and purchase buttons, creating a consistent experience for your clients.
Why This Matters
Consistent branding improves trust and makes the booking experience feel like a natural part of your website.
When the widget colors match your brand identity, clients experience a seamless transition between your website and the Trainin booking interface.
Steps
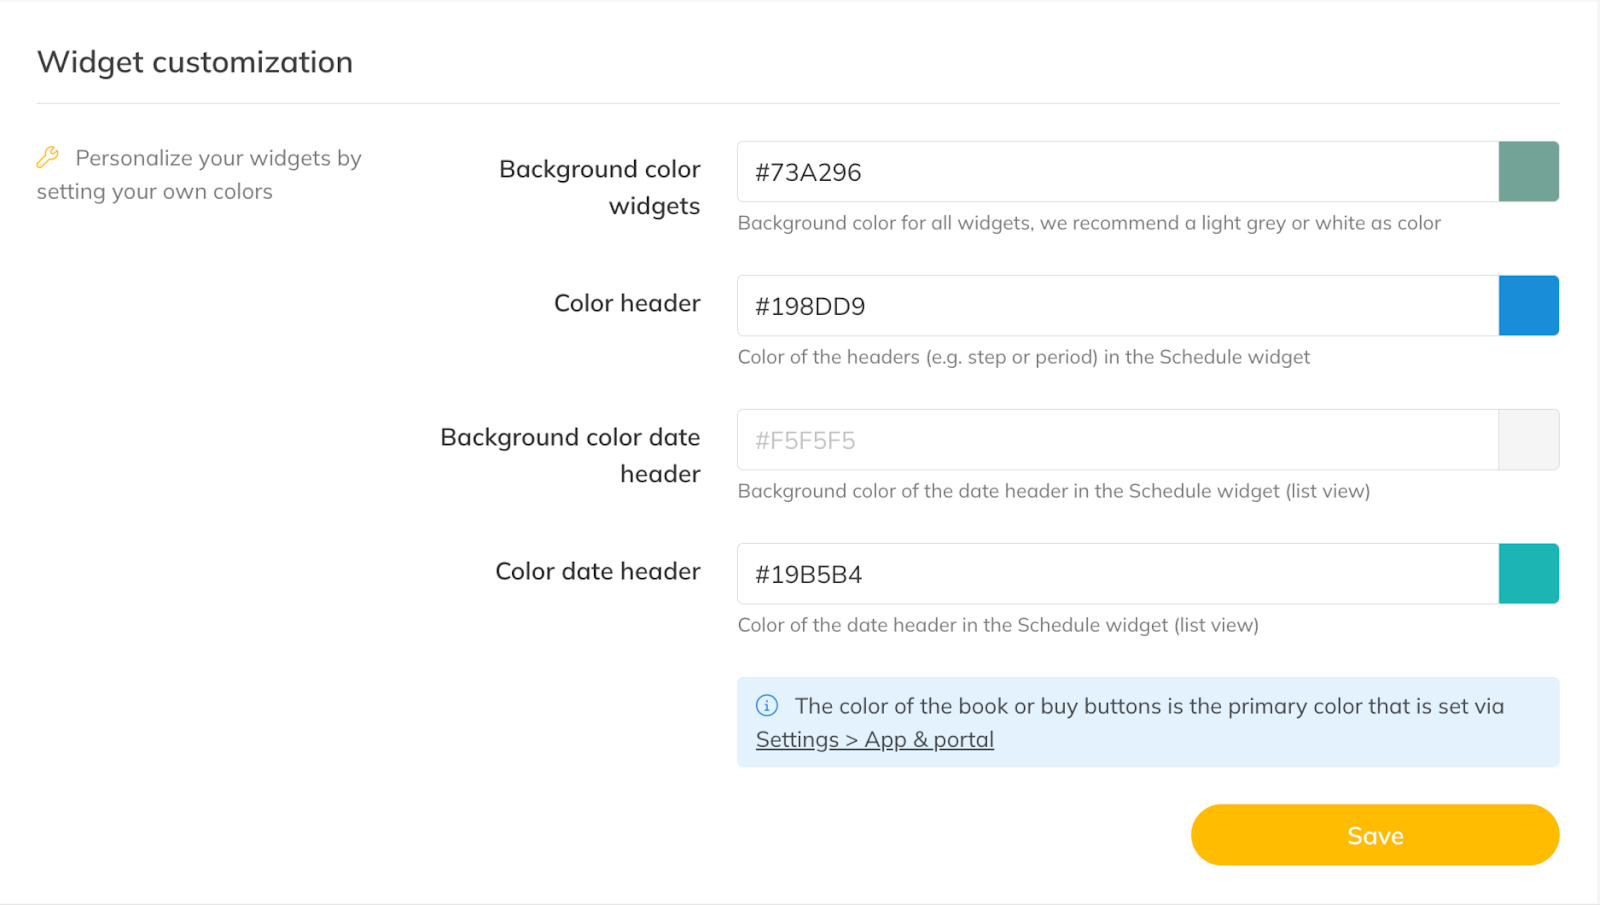
Step 1: Open the widget customization settings: My Company > Integrations > Customization
– This section allows you to configure the background color of widgets and the color used in the Schedule date header.
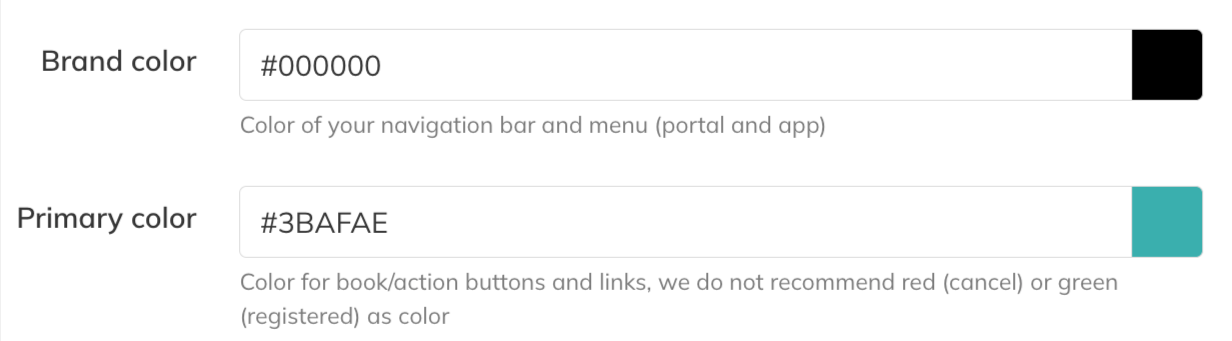
Step 2: Customize booking and purchase buttons: My Company > Settings > App & Portal
– Configure the color used for booking and purchase buttons that appear in the Web Widgets.
Step 3: Save and review the changes
– Once saved, the updated colors will automatically apply to all Web Widgets embedded on your website.
Best Practice
Use colors that match your brand while keeping strong contrast for booking and purchase buttons so they remain clearly visible to clients.
Pro Tips
After updating widget colors, refresh the webpage where the widget is embedded to confirm the changes appear correctly.
Using the same primary brand color for booking and purchase buttons creates a clear visual action cue for clients interacting with the widget.
Common Questions
Will customizing the widget change my website design?
– No. Customization only affects the appearance of the embedded Trainin widgets.
Do I need to update the widget code after changing colors?
– No. Changes apply automatically to all existing widgets connected to your account.
Can I customize widgets differently on different pages?
– No. Widget appearance settings apply globally across all widgets connected to your account.
Next logical steps
– How to integrate the Web Widget into your personal website
– How to configure Web Widget filters and advanced settings