Forms let you collect information from clients, for example a health questionnaire when they start or an evaluation after a month. Forms are available from the Pro plan. You'll find them under My company → Forms.
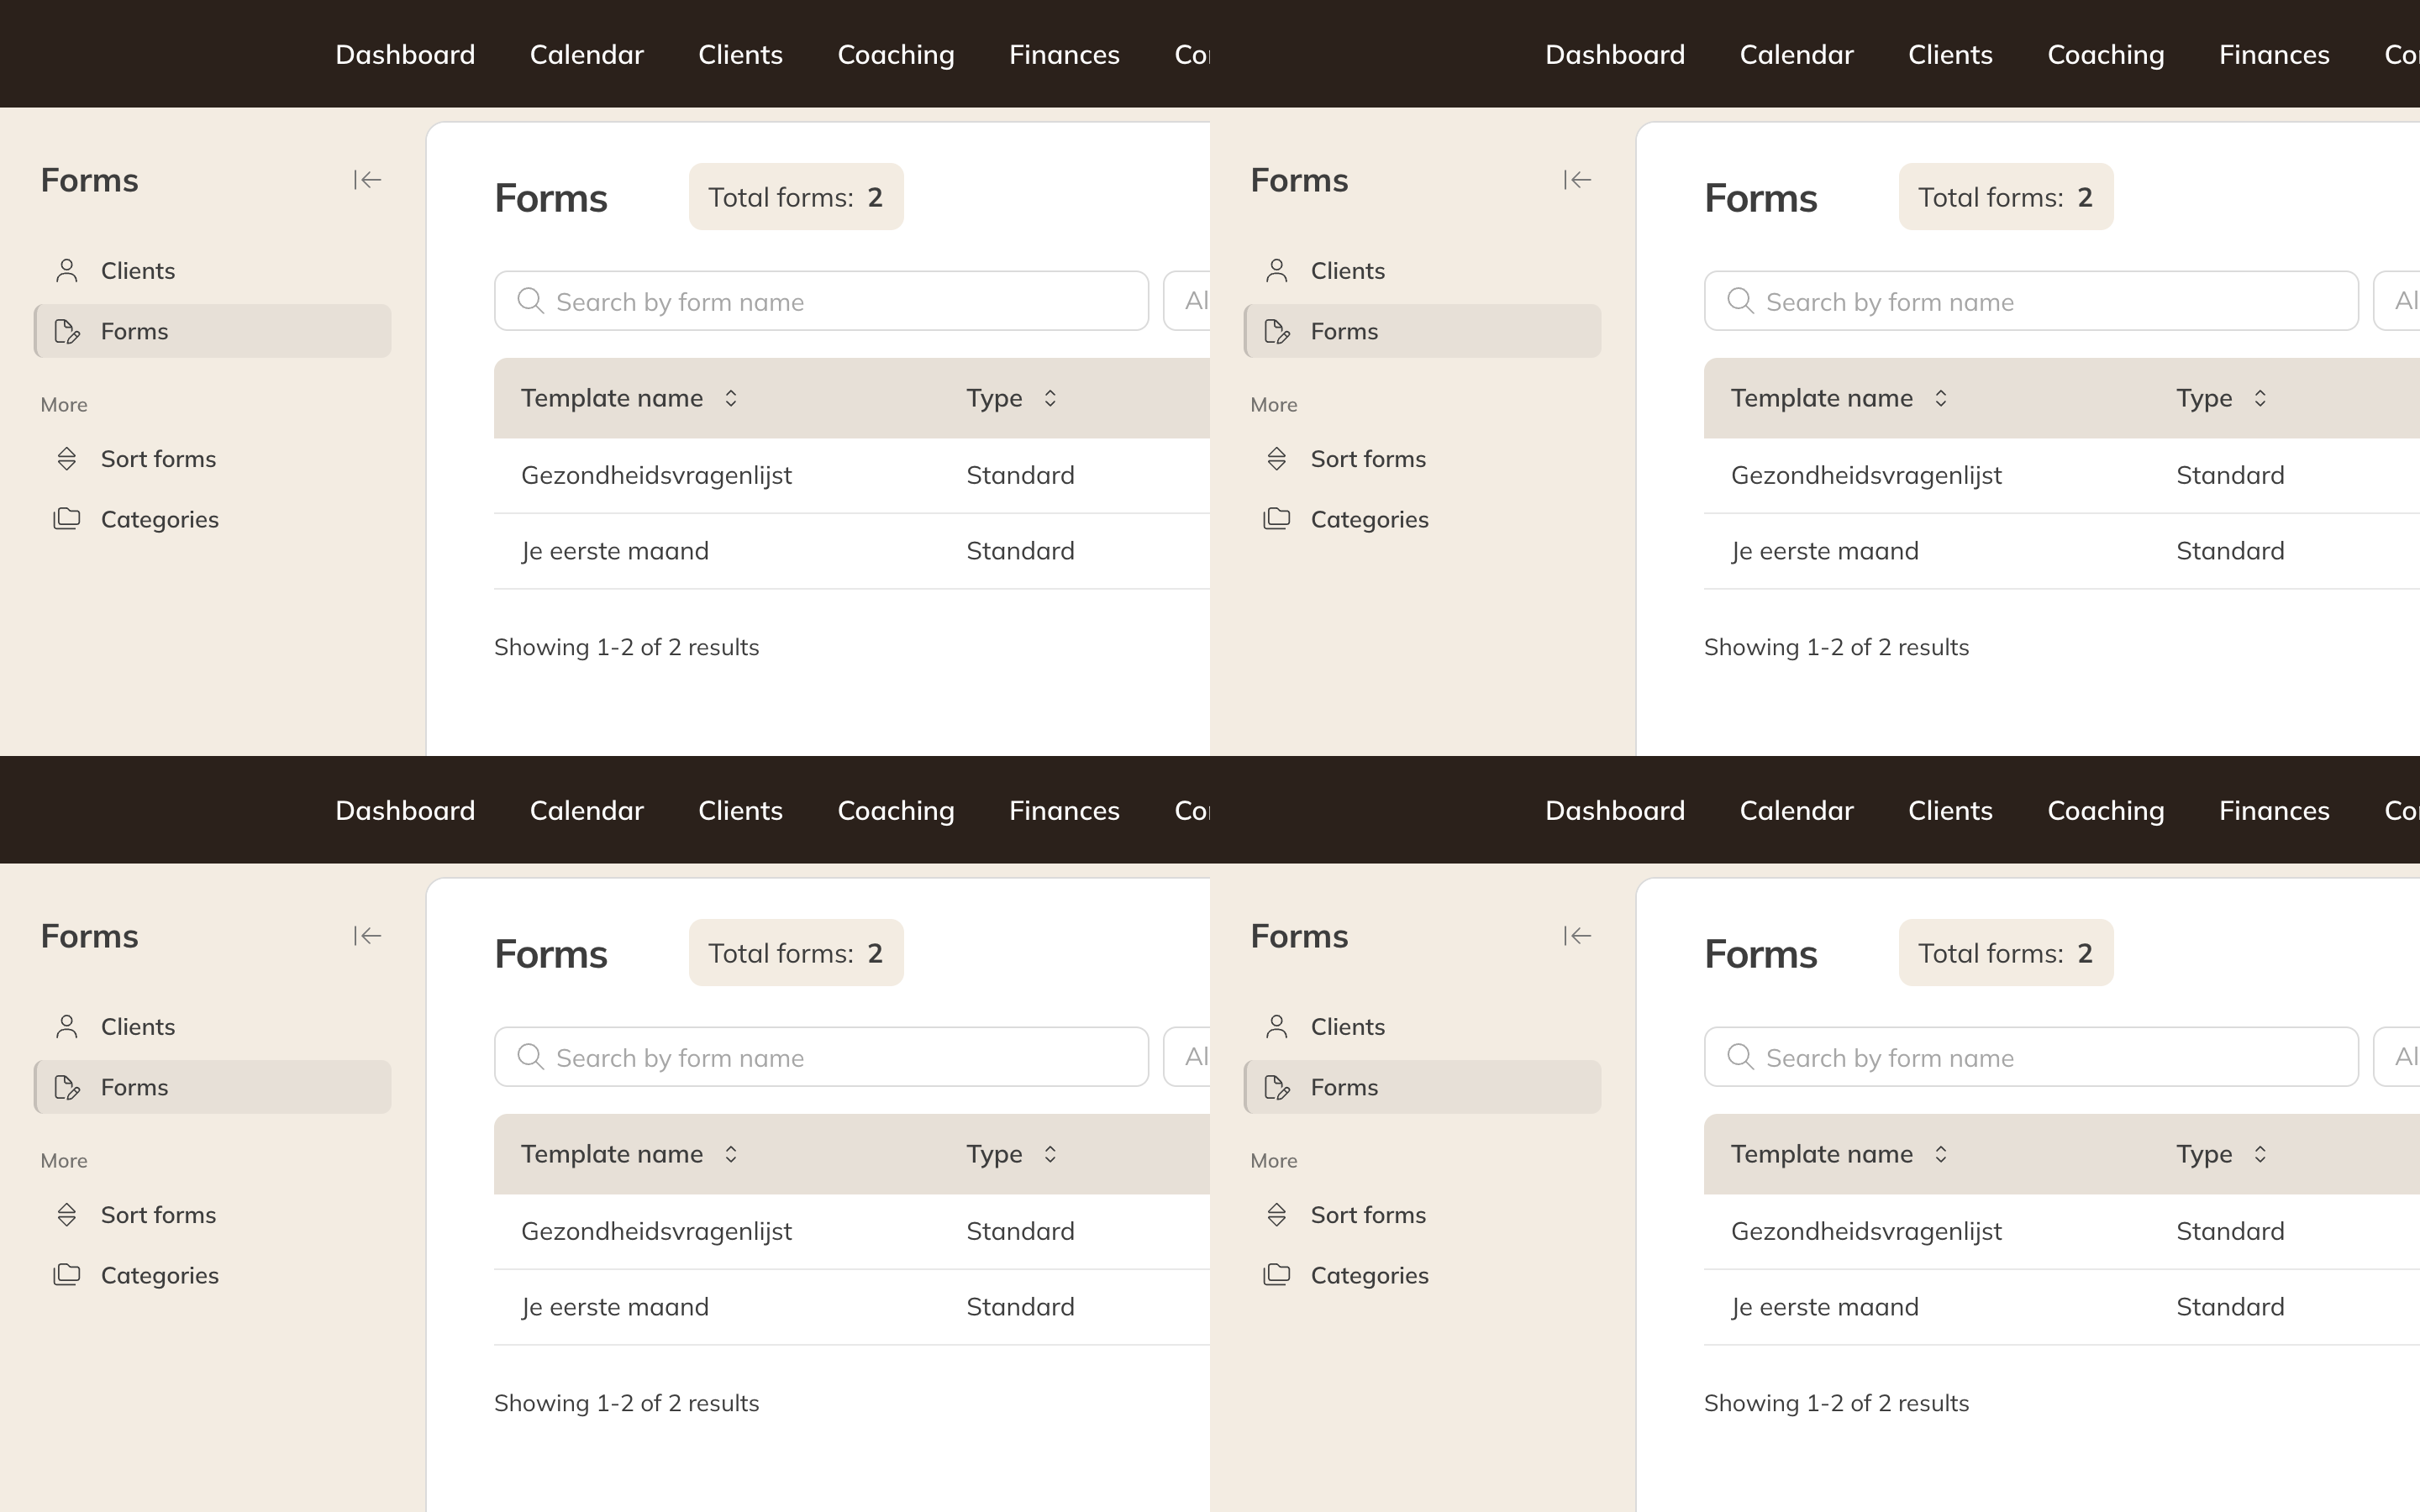
Your forms
Creating a form
- Choose the Forms tab and click New form.
- Enter the Form name. Leave Type set to Default. The Coaching type is for forms with measurements.
- Add fields: Header and Description to structure the form, Short answer, Long answer, Number, Yes/No field, Checkbox, Dropdown and Radio buttons.
- Click Save.
Forms with measurements for coaching are described in Tracking intake and progress with forms.
Form options
Click Options next to the form and choose Options again in the menu.
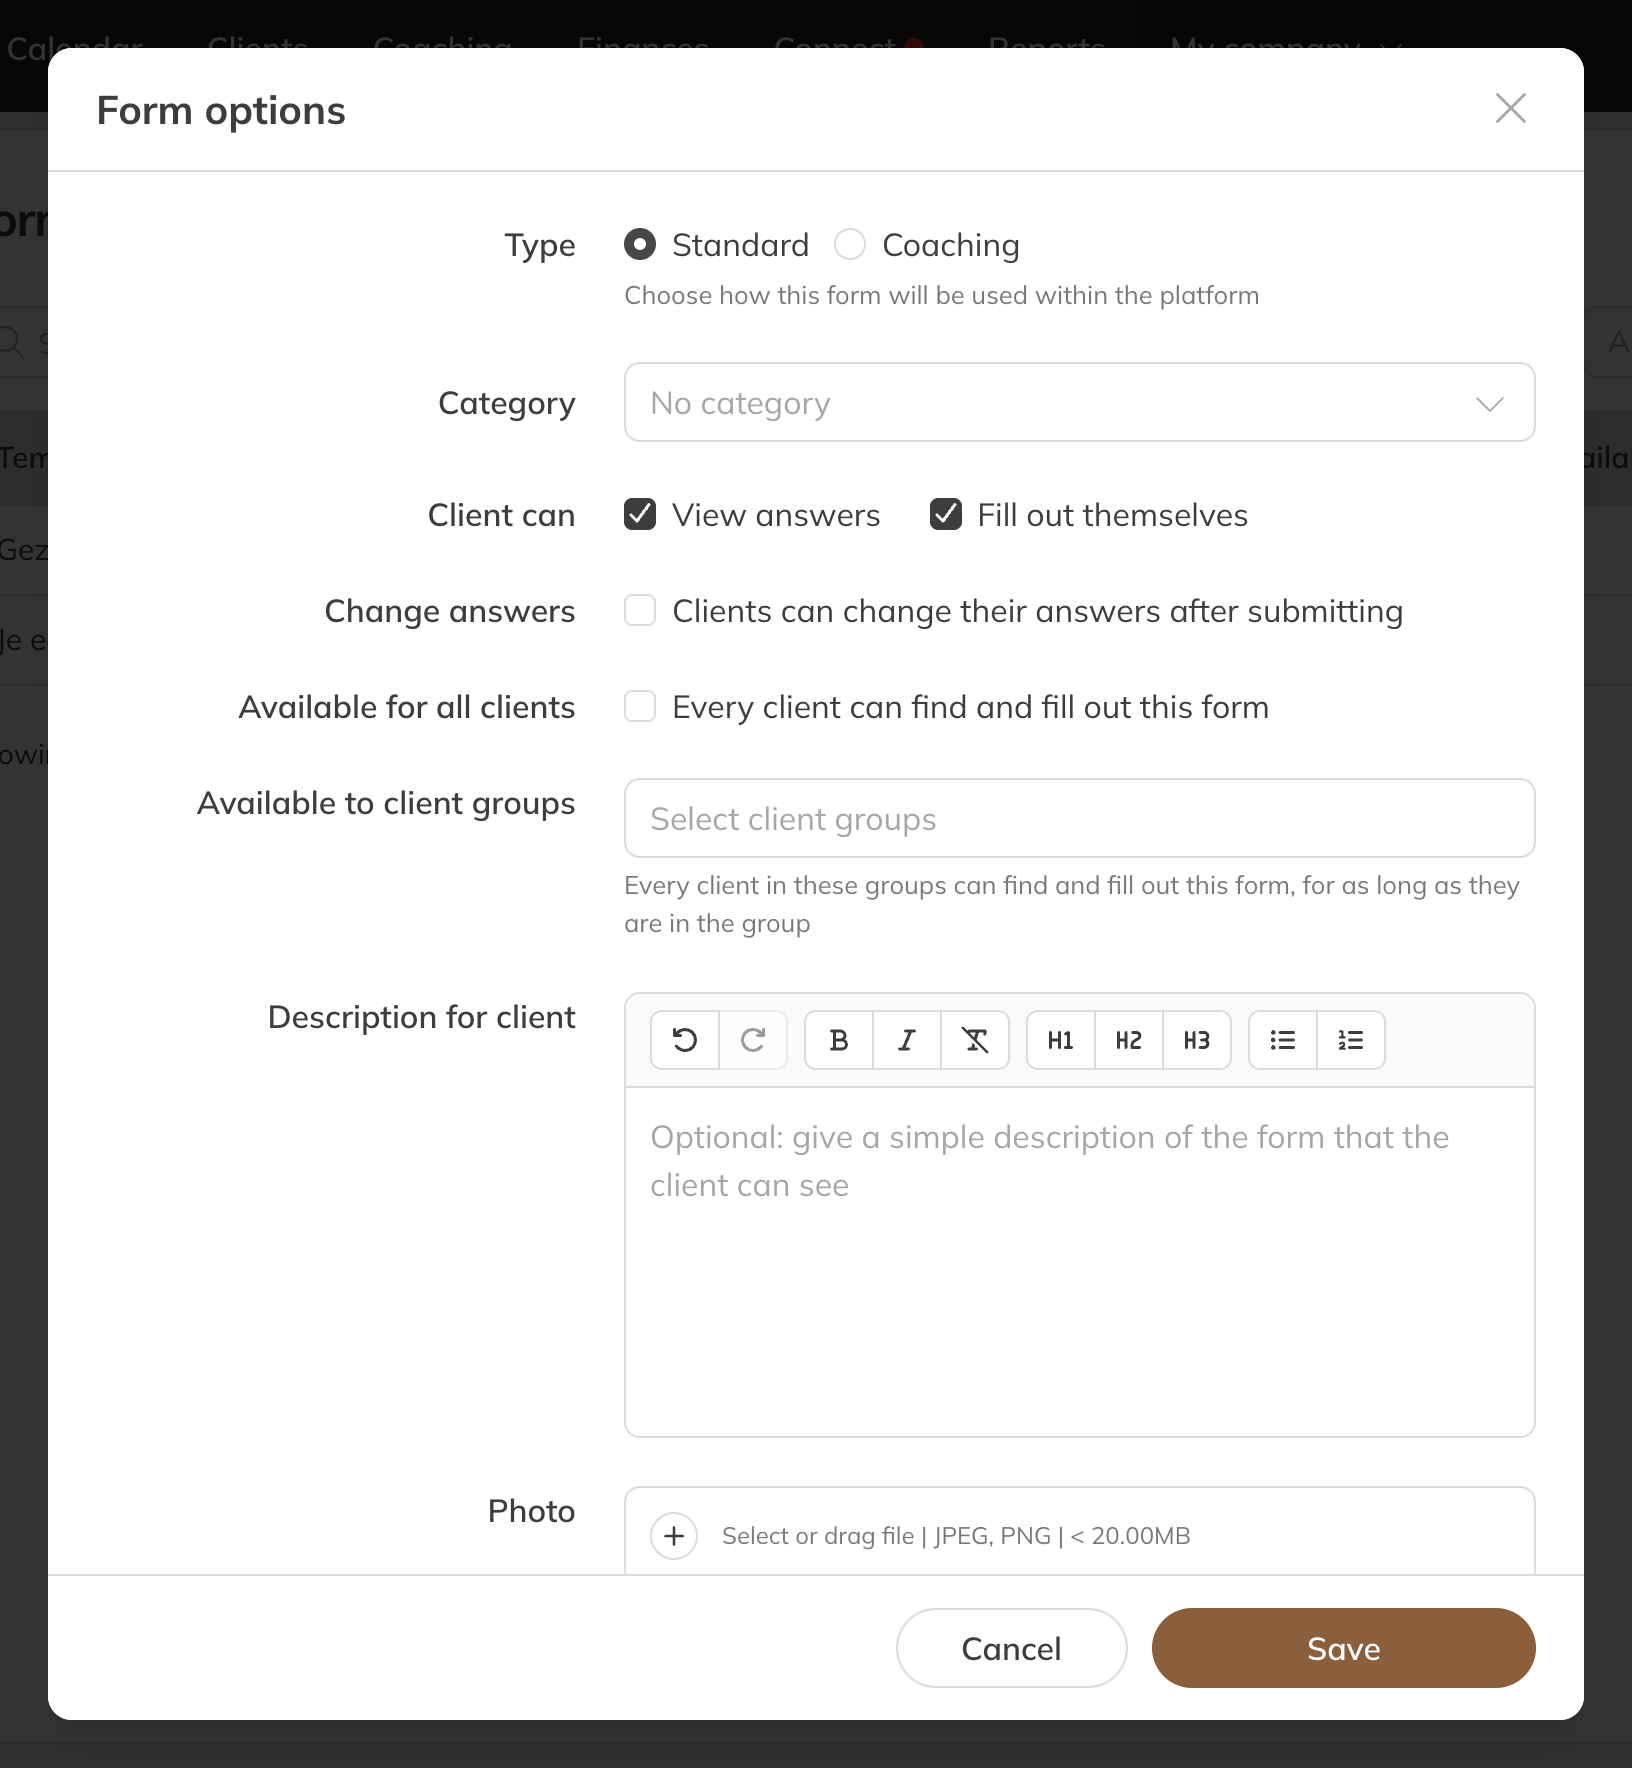
Form options
| Option | What happens |
|---|---|
| Category | Groups the form. See below. |
| Client can | View answers, Fill out themselves and Change answers after submitting. Each option is only possible if the previous one is on. |
| Available for all clients | The form is in every client's app, without you assigning it. |
| Available to client groups | Clients in these groups can find and fill in the form, as long as they're in the group. |
| Description for client and Picture | What the client sees with the form. |
| Description for staff | An explanation or instructions for your colleagues. |
The same menu also has Preview, View responses, Export responses, Assign form, Edit, Duplicate, Delete and, if clients may fill in the form themselves, Public link. Share that link and clients can fill in the form without logging in.
Categories and order
- Under More, choose Categories and click New category.
- Enter the Category name, for example Onboarding, and click Save.
- Drag the categories into the order you want. Use Options to change or delete a category.
Form categories
Use More → Sort forms to drag the forms into the order in which they appear in the filters.
Tip: Viewing forms requires the permission View forms. Creating and changing them requires Add, edit and delete forms.