The check-in screen is a Trainin page that you keep open on a tablet at the entrance. Clients scan their QR code, card or tag, and the screen immediately shows whether they're checked in. This works with the Trainin check-in option.
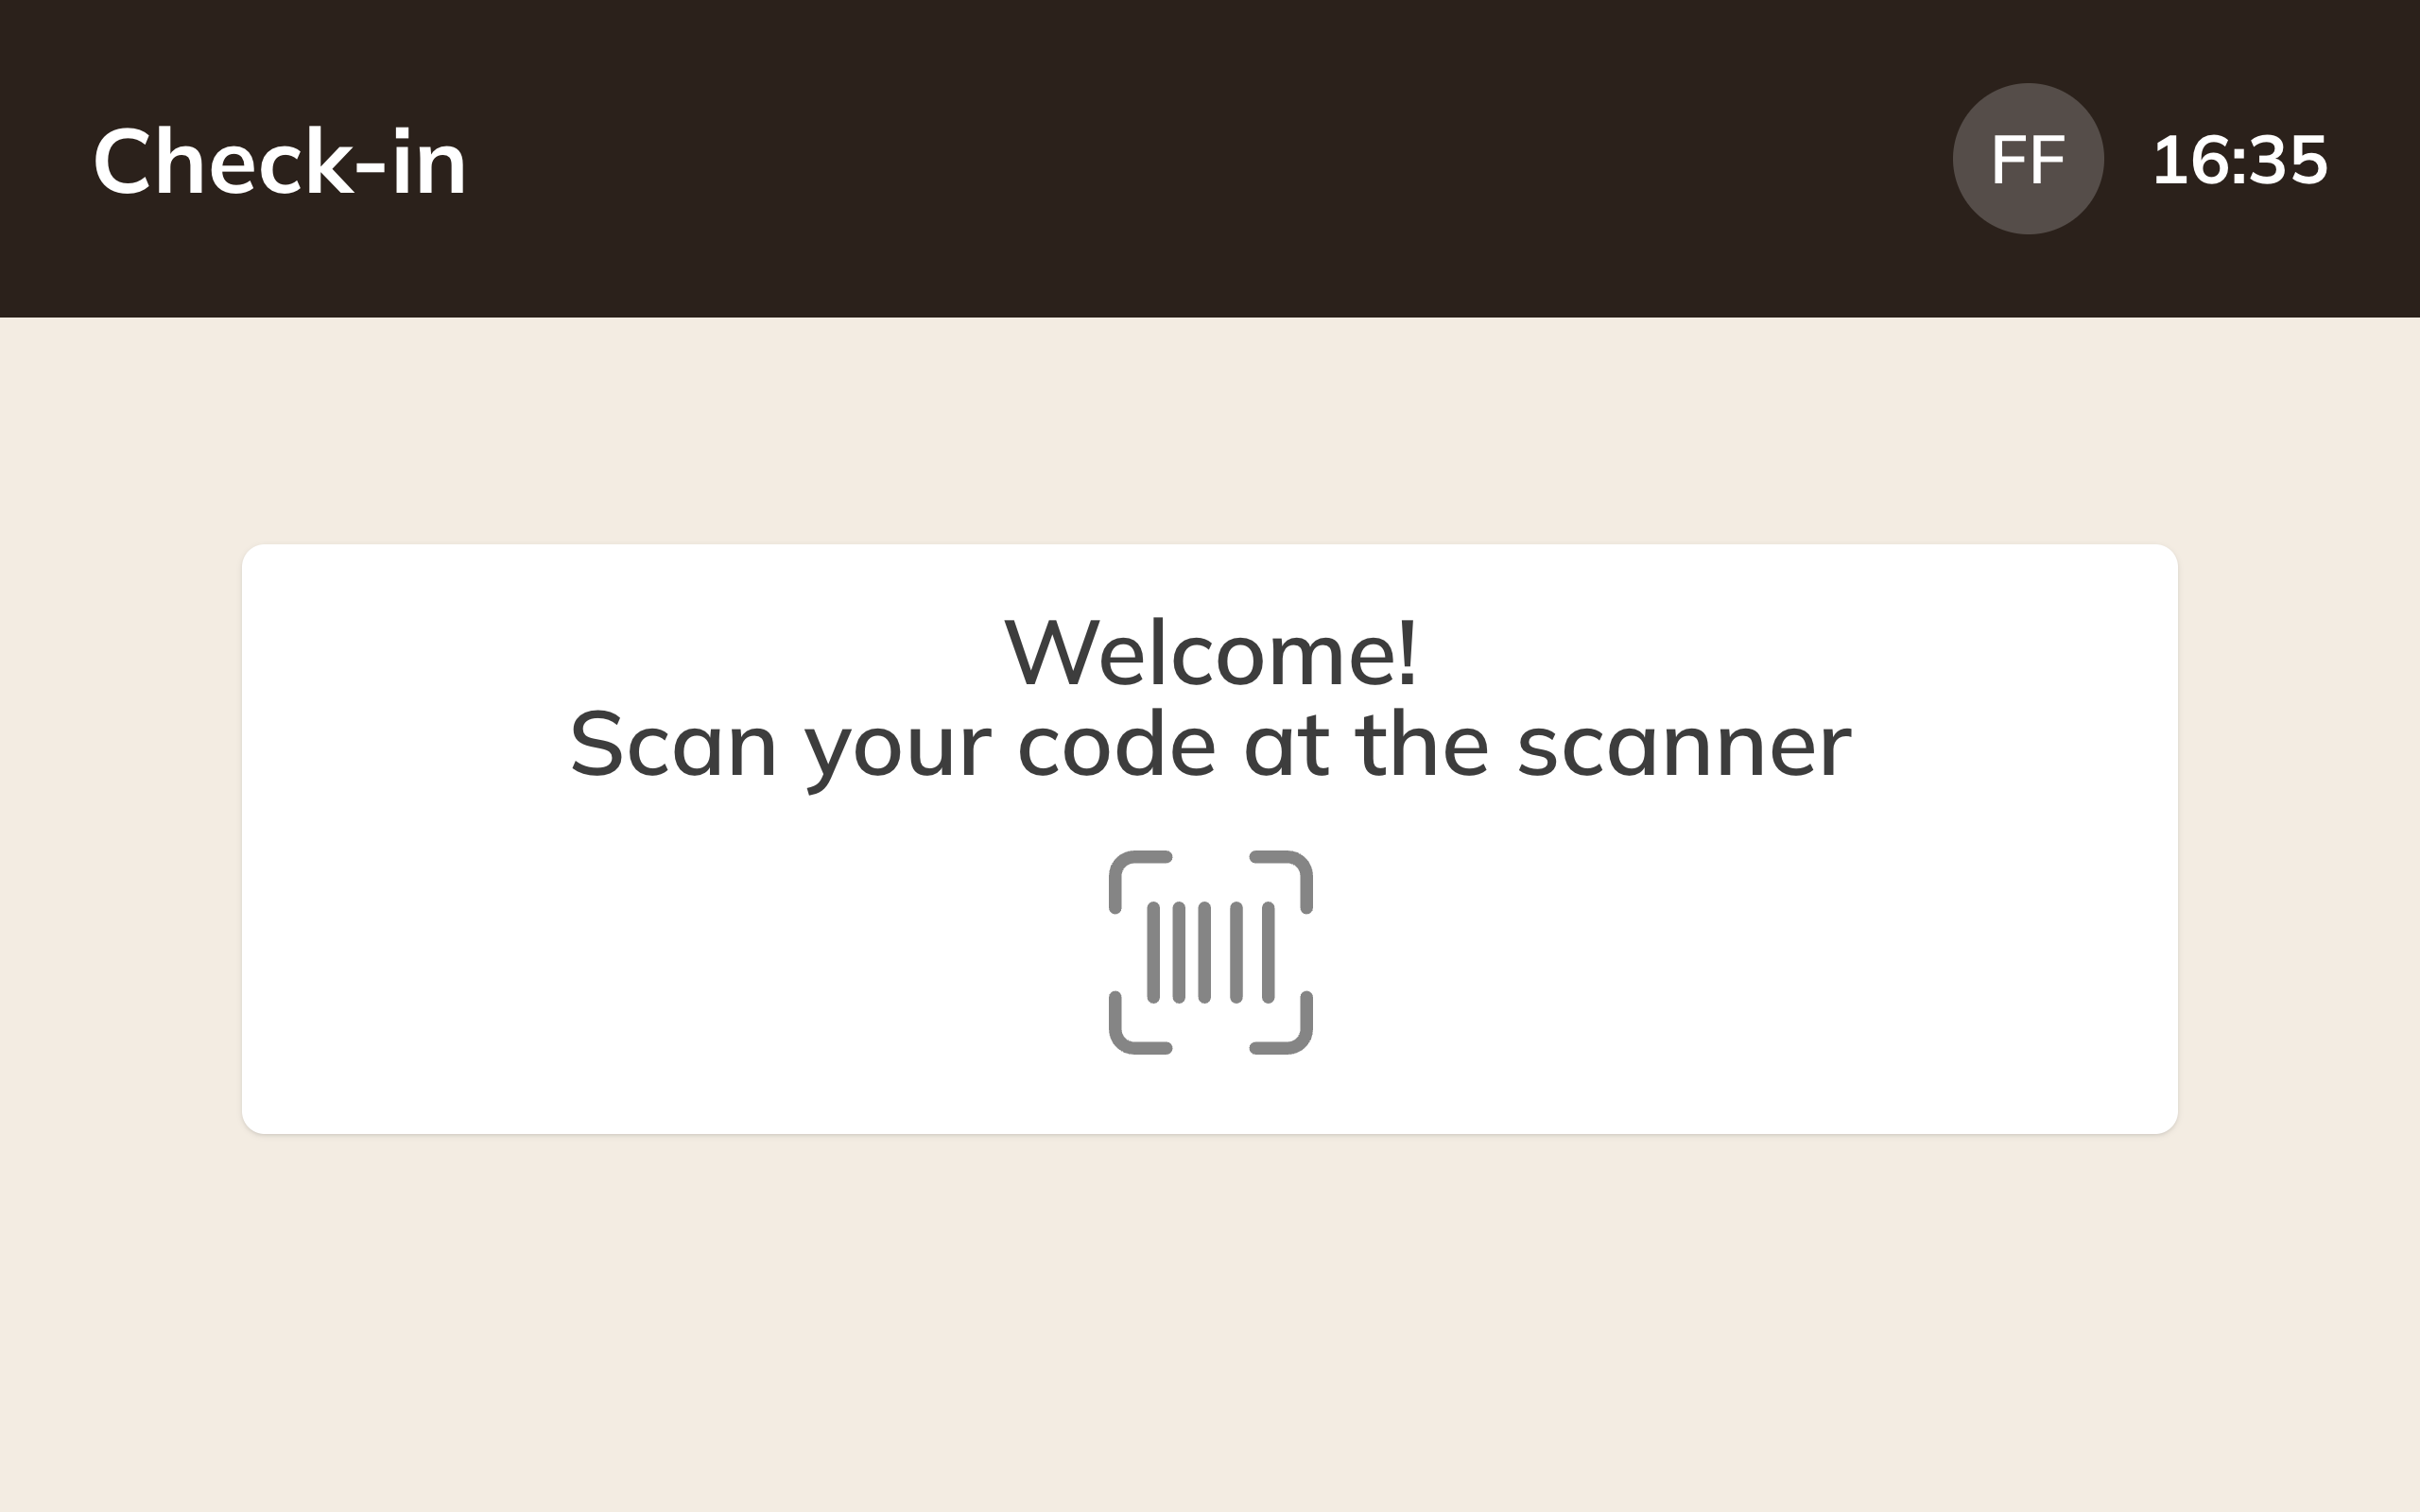
The check-in screen
What you need
- Access control with Trainin check-in, switched on and set up. See Setting up access control.
- A tablet or computer at the entrance, with a scanner that reads the client's code.
- A separate account for that device, with the Equipment role.
1. Create an account with the Equipment role
Don't use your own account for the screen. An account with the Equipment role can only open the check-in screen, plus its own account details and password. If someone leaves the tablet behind, nothing else can be viewed with it.
- Go to My company → Staff and click New staff.
- Enter an email address where you can open the welcome email, and a name, for example Entrance tablet.
- At Role, choose Equipment and leave Create a login account switched on.
- Click Save and set a password through the welcome email.
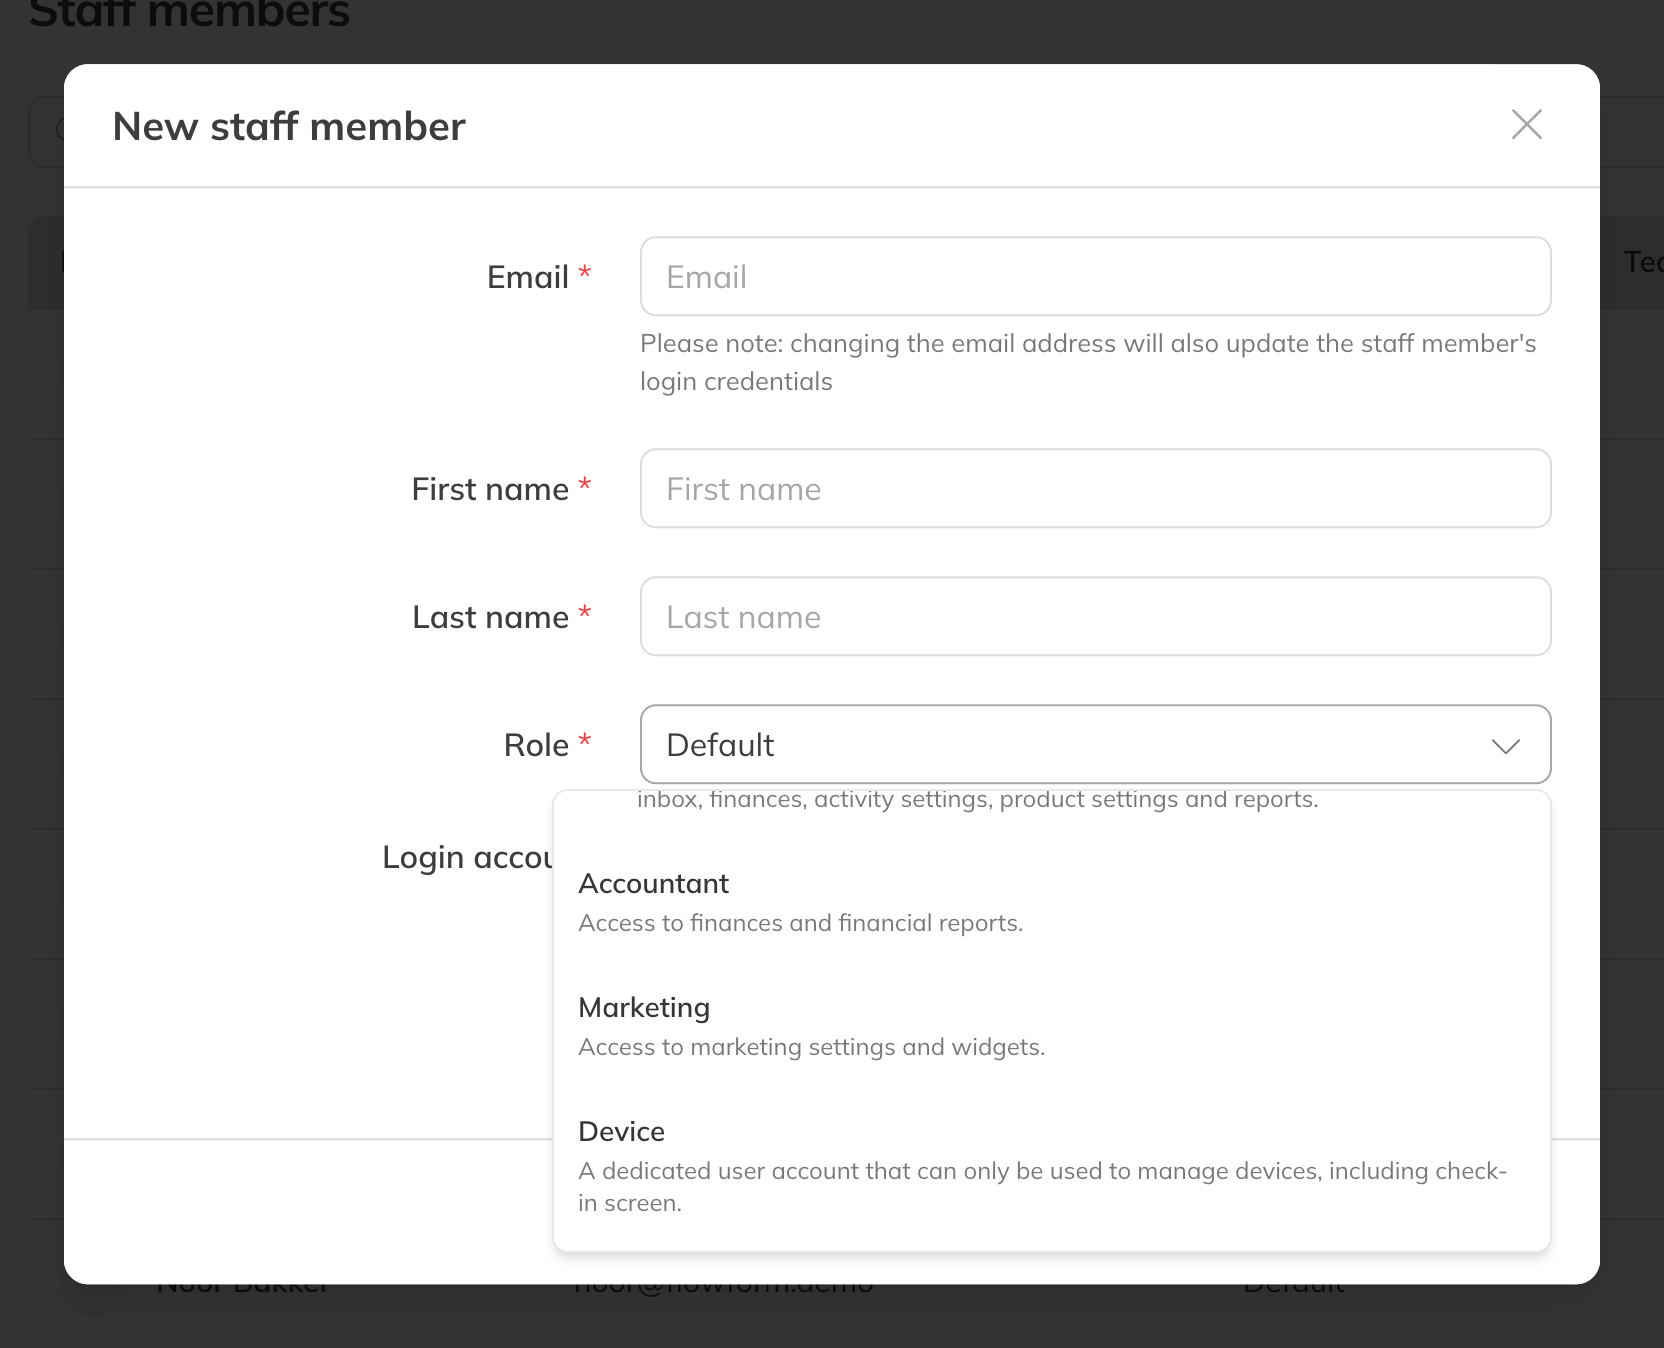
Choosing the Equipment role
- You only see the Equipment role if your business has Trainin check-in.
- An account with the Equipment role doesn't count as a staff member for your subscription.
- An account with the Equipment role doesn't need two-step verification, so the screen doesn't get stuck.
Read more about staff in Adding a staff member.
2. Open the screen on the tablet
- On the tablet, log in to the Company app with the Equipment account.
- You'll see Where do you want to check in? Choose the location of this entrance, or Any location if the screen is for your whole business.
- The check-in screen opens, with your logo, the clock and your welcome message. Leave it open.
Tip: Choose the location of the entrance if you have several locations. A client with a class at a different location then sees Your booking is at a different location, with the name of that location.
What the client sees
- Success: Checked in, with your confirmation message or, if you haven't filled one in, Enjoy your workout and their first name. Below that, the class they're checked in for, or Open gym. If Show profile photo is on, their photo too.
- Already in: Already checked in, with the time.
- Failed: Check-in failed with the reason and what the client can do, usually Please check in at the front desk. See Why a client is refused.
- No internet: No connection.
After a few seconds (7 seconds after a refusal) the screen goes back to the welcome message by itself. If the client has the app open with their QR code, they see the result there too.
Note: If access control is off, or Trainin check-in is disabled, the screen shows Check-in not available.
Tip: Staff with the permission Check-in kiosk screen can also open the screen: add /checkin to the address of your Company app. For a tablet that stays at the door all day, an Equipment account is the better choice.