How to Manually Assign Products to Your Customers
Estimated Reading Time: 5 minutes
Applies to: All Plans
Quick Summary
You can manually assign a Product to a client from the client profile.
This allows you to activate a Membership, Credit Pack, or single session manually and decide how and when the client should pay.
Why This Matters
Manually assigning Products gives you full control when onboarding clients, correcting payments, or activating services outside of the shop.
It also allows you to adjust pricing, schedule payments, and control when the Product becomes active.
Step by Step Instructions
Step 1: Open the client profile: Clients > Select Client
– Open the client account where you want to assign the Product.
Step 2: Start assigning a Product: Client Profile > Assign Product
– Click Assign Product to begin adding a Membership, Credit Pack, or single session to the client.
Step 3: Select the Product and start date: Assign Product > Product > Start date
– Choose the correct Product and set the Start date. This determines when the Product becomes active for the client.
Step 4: Adjust validity if needed (Credit Pack or single session): Assign Product > Validity > Edit icon
– For Credit Packs or single sessions, you can adjust the validity period by clicking the edit icon next to the validity settings.
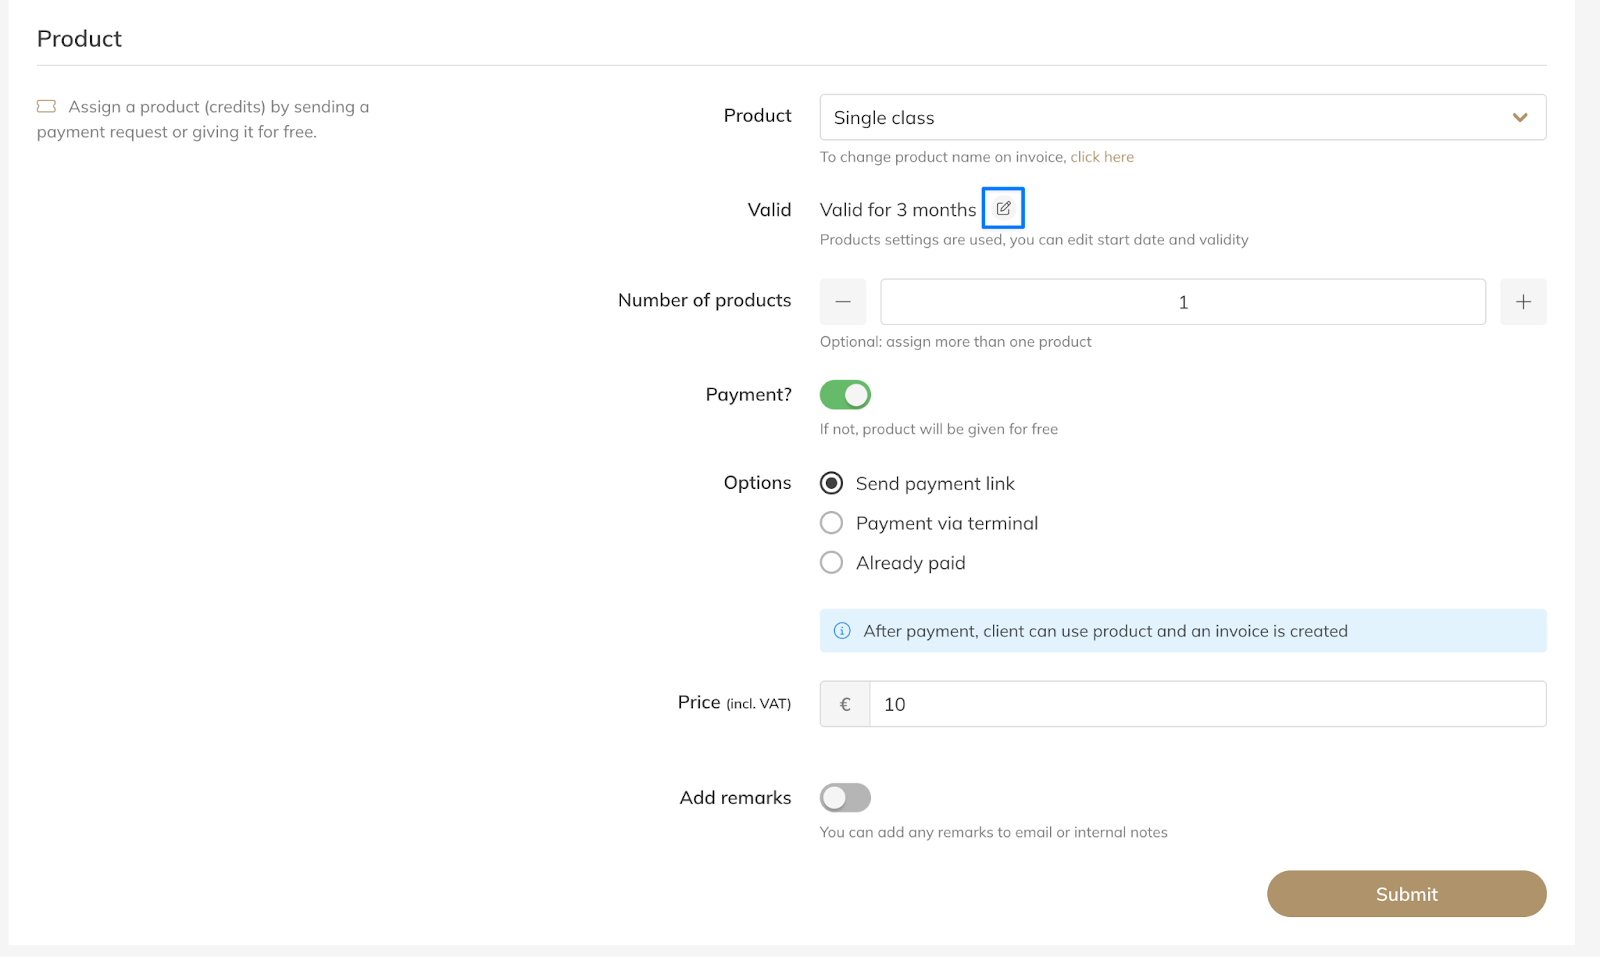
Step 5: Choose the payment method: Assign Product > Payment > Options
– Decide how the client will pay. You can Send payment link, Schedule payment, or mark the Product as Already paid depending on your the type of product and your setup.
Step 6: Configure scheduled payments for Memberships (optional): Assign Product > Schedule payment > Payment date / Order period
– If you choose Schedule payment, select the payment date and define the Order period. The order period represents the time the client is paying for, and the end date triggers the next payment cycle.
Step 7: Confirm and assign the Product: Assign Product > Submit
– Review the details and click Submit to assign the Product to the client.
Best Practice
Always check the Start date and Order period when scheduling payments.
For example, if a client pays for March, the Order period should run from 1 March to 31 March, which triggers the next payment on 1 April.
Common Questions
When does the Product become active?
– If the Start date is today or not filled in, the Product becomes active after payment is completed. If the start date is in the future, the Product will be scheduled and becomes active on that date. If the start date is in the past, the Product becomes active immediately.
Can I change the price when assigning the Product?
– Yes. You can adjust the price while assigning the Product. If you change the price of a Membership, the new amount will apply to future Recurring Payments.
What happens if I change the price on a scheduled payment?
– Changing the amount of a scheduled payment only adjusts that specific planned payment. Future payments will still follow the standard Product price.
Can I schedule multiple payments in advance?
– Yes. You can add multiple scheduled payments when configuring the payment plan for a client.
If you would like to know more about our Pro, Premium or Add-Ons, send us an email to support@trainin.com.
Related Articles
– How to Create a Membership– How to Create a Credit Pack
– How to create and use discount rules