You create a client through Clients → New client, or through the + at the top right of the menu bar and then New client. On your phone, tap the + at the top right in Clients.
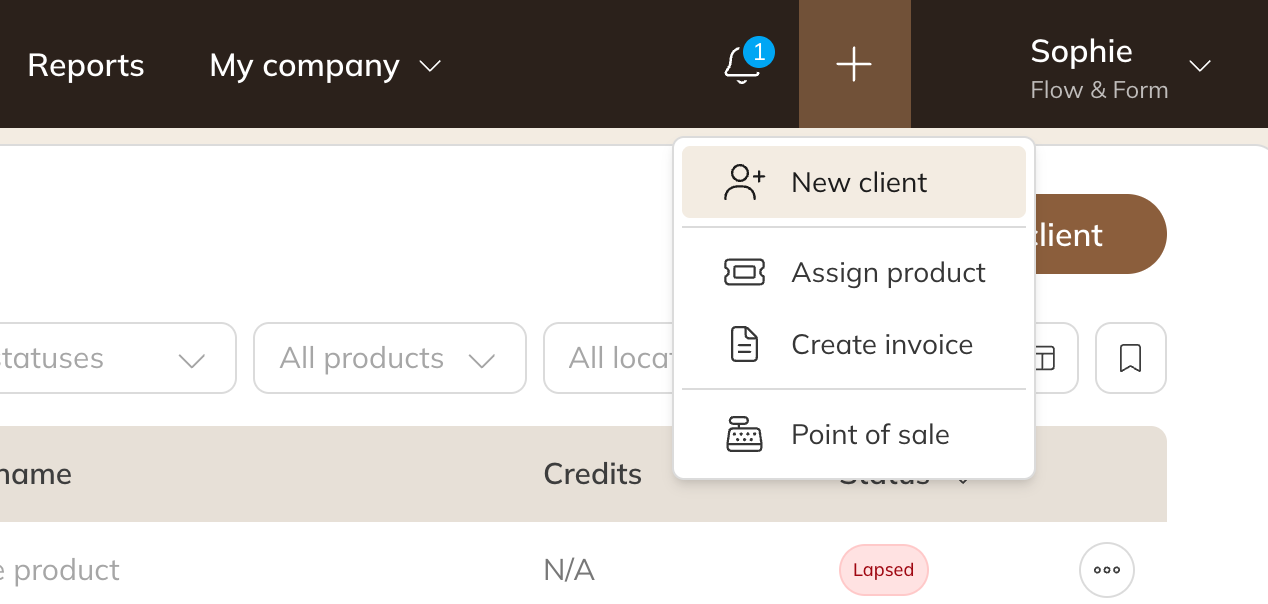
The + in the menu bar
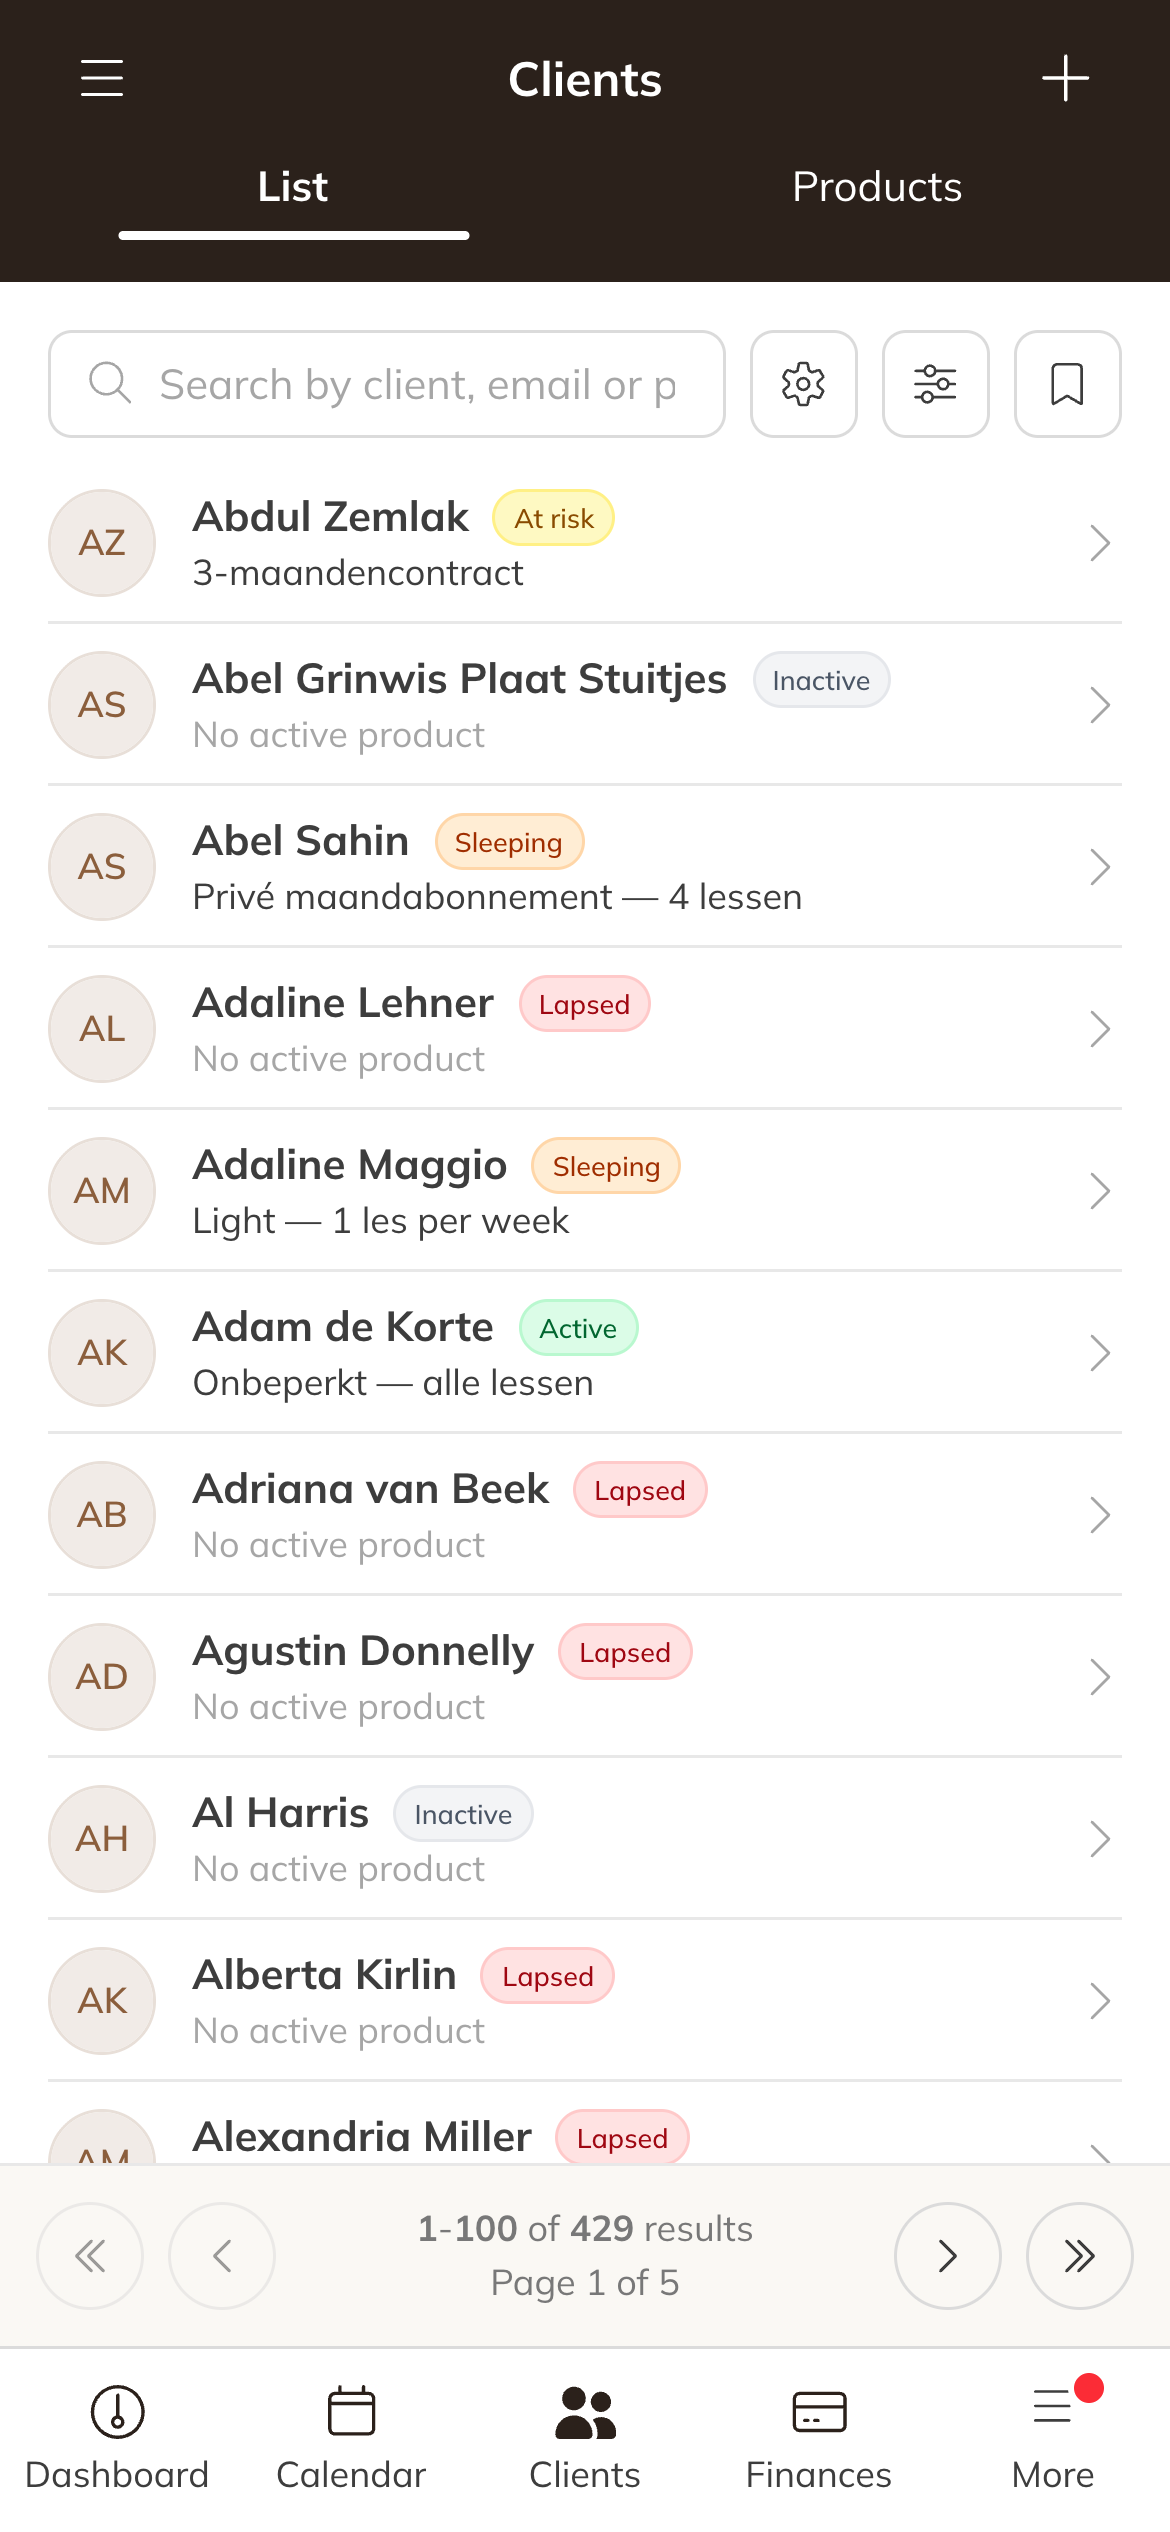
Clients on a phone, with the + at the top right
- Enter the Email, First name and Last name. That's enough to create the client.
- Want to record more? Click More details: address, gender, date of birth, an emergency number and, for an invoice in a company's name, Company details.
- To give the client a credit pack or membership straight away, switch on Assign a product. You can read how in Giving a client a product.
- Click Create client.
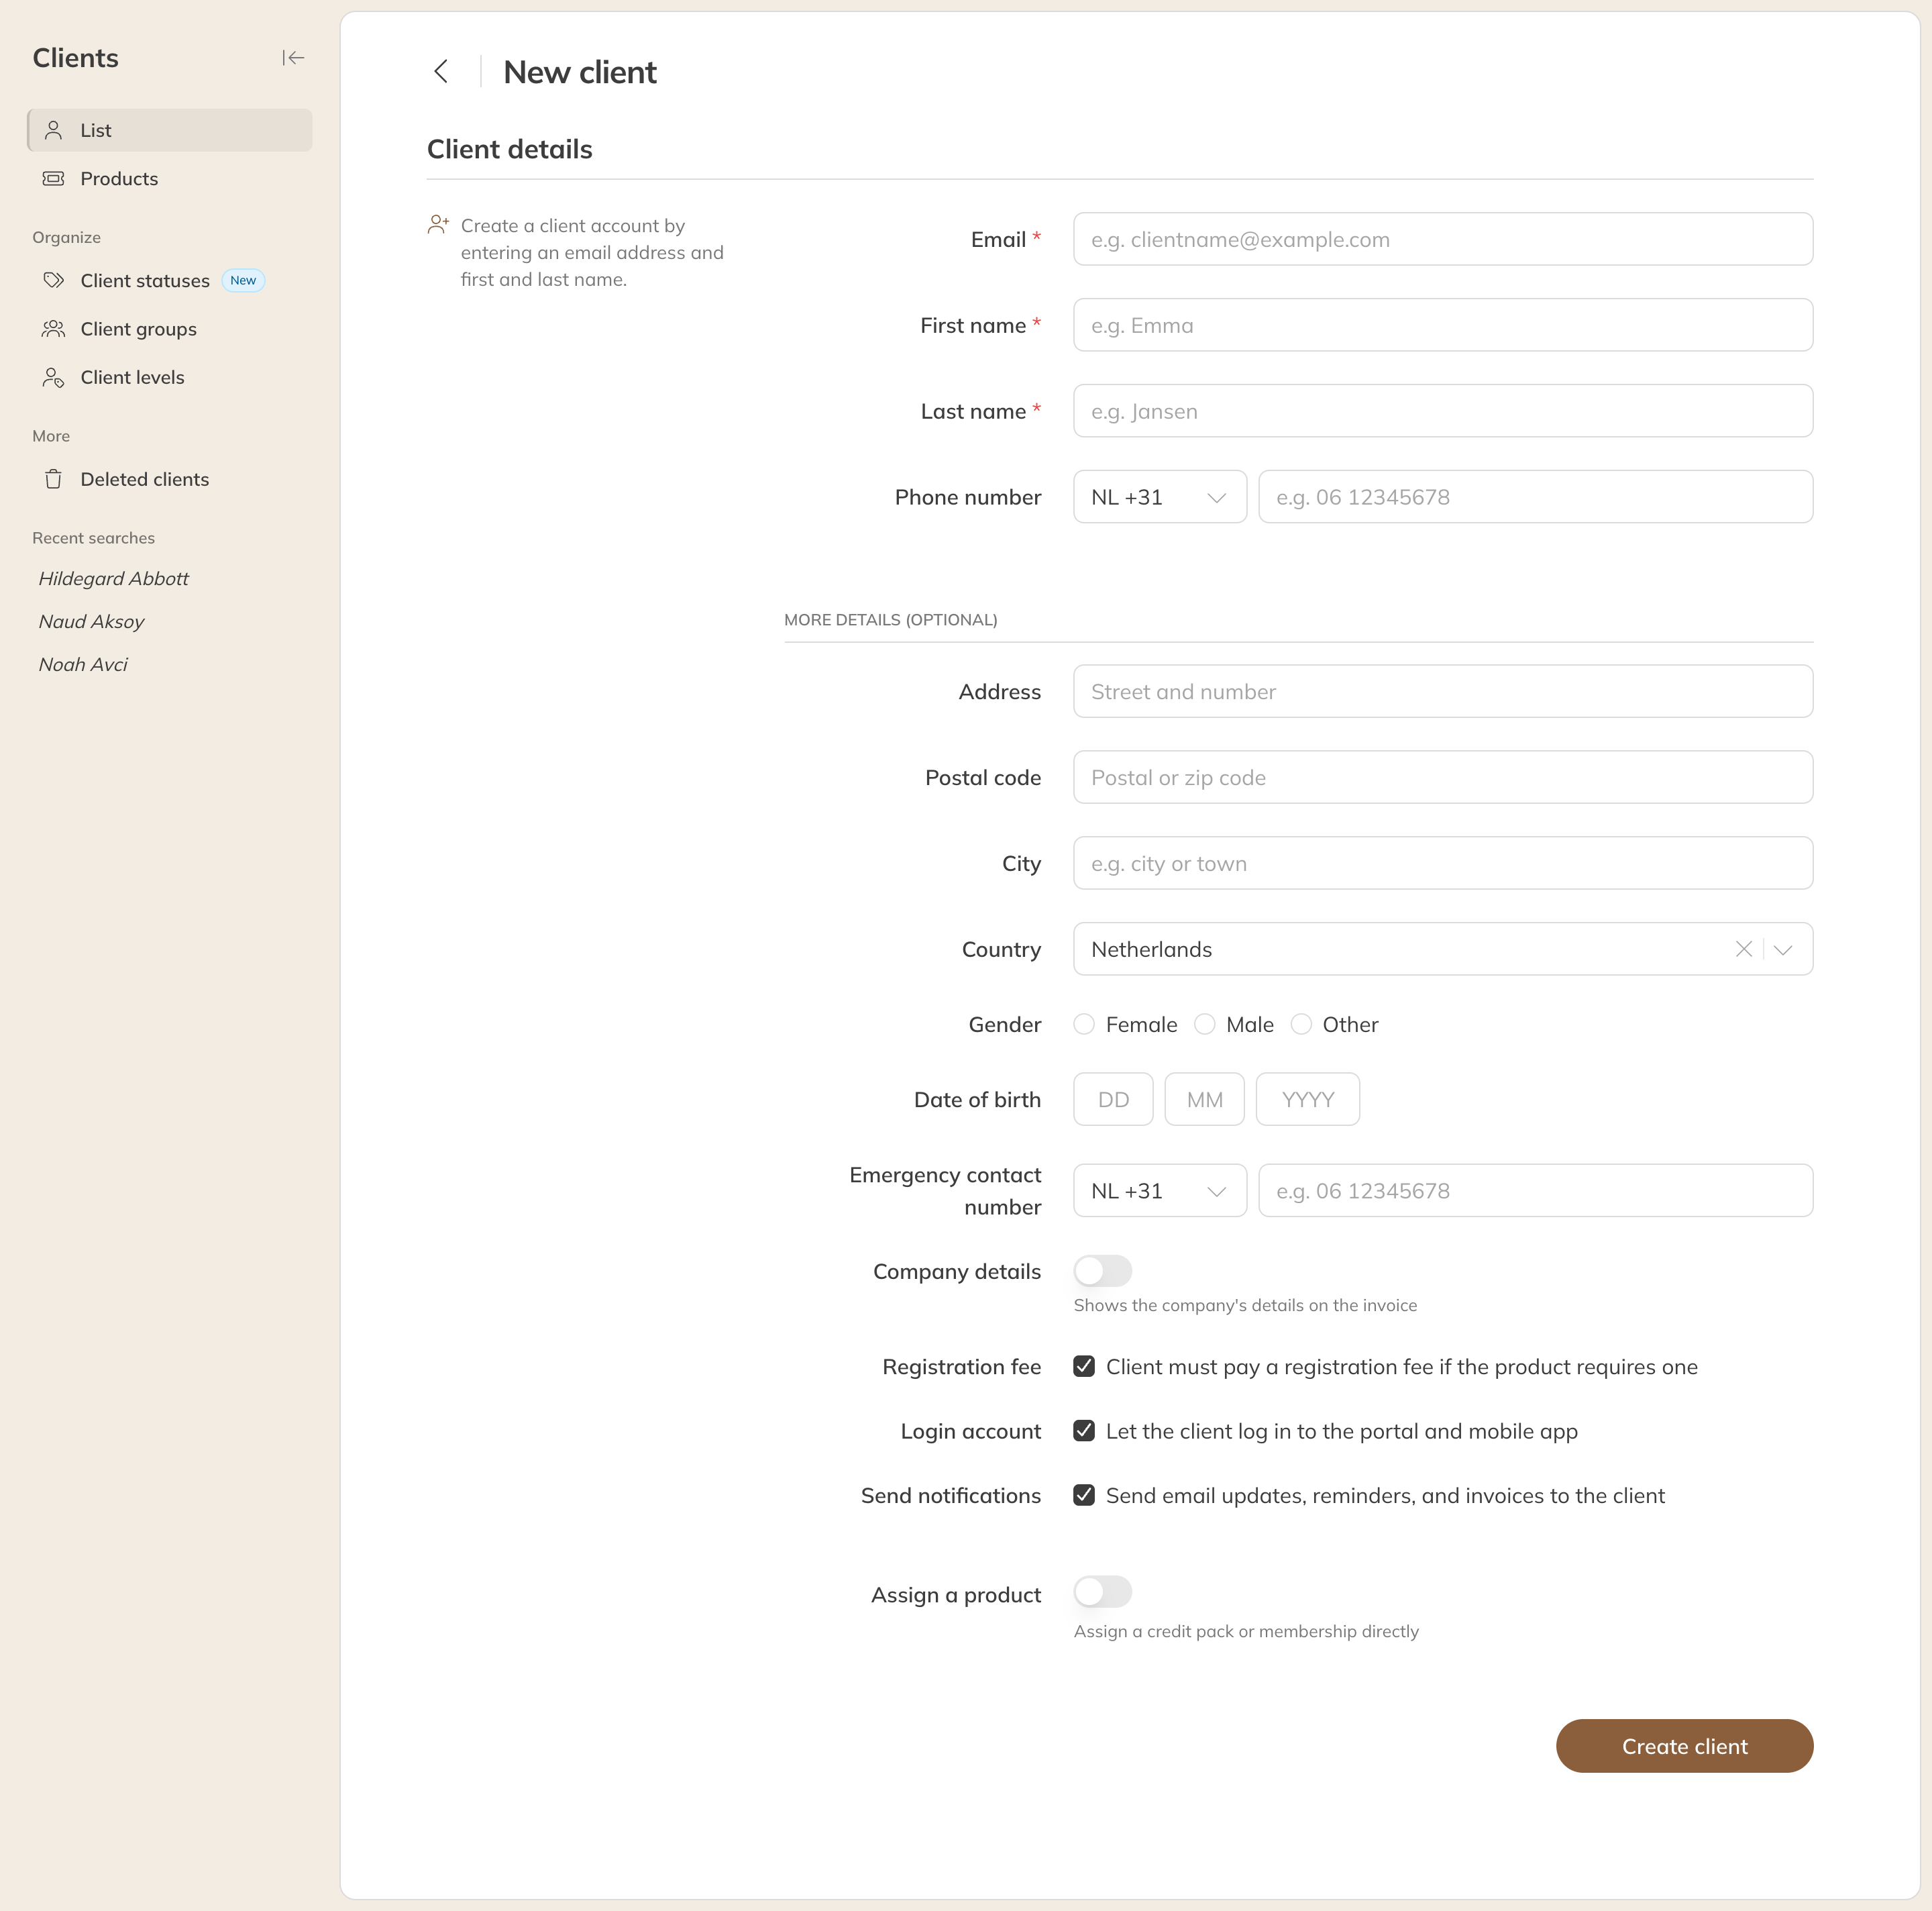
New client, with More details open
What the client receives
The client gets a welcome email with a link to set their own password. Trainin never sends passwords by email.
Under More details there are three checkboxes that are on by default:
| Option | What happens |
|---|---|
| Login account | The client can log in to the portal and the app. If you turn this off, the client gets no welcome email and no login. |
| Send notifications | The client receives emails, reminders and invoices. |
| Registration fee | The client pays a registration fee if the product asks for one. You only see this if you have a registration fee product. |
Bank details for direct debit
If you collect membership fees by direct debit, you'll also see fields under More details for the IBAN and the account holder's name. If you fill them in, a SEPA mandate is recorded for the client straight away. Only do this if the client has given permission.
If you then give the client a membership, you can choose Collect amount via direct debit. The client then doesn't get a payment link. See Giving a client a product.
Note: The bank fields only appear if you collect recurring payments by direct debit and you have permission to change clients' payment settings.
Tip: Is the email address already in use by a client? Look the client up in Clients; you'll find a deleted client under Deleted clients.