All check-ins are under Reports → Bookings & sessions → Check-ins. There you'll see the clients who came in through Trainin check-in. There are two tabs: Live and Details.
Note: You need the permission Check-in overview. The list only appears if your business has access control.
Live: who's in right now
The Live tab shows the check-ins from the last 4 hours. The list refreshes itself, so you can leave it open at the front desk. At the top you'll see the number of Active check-ins. If you have several locations, you can filter by location.
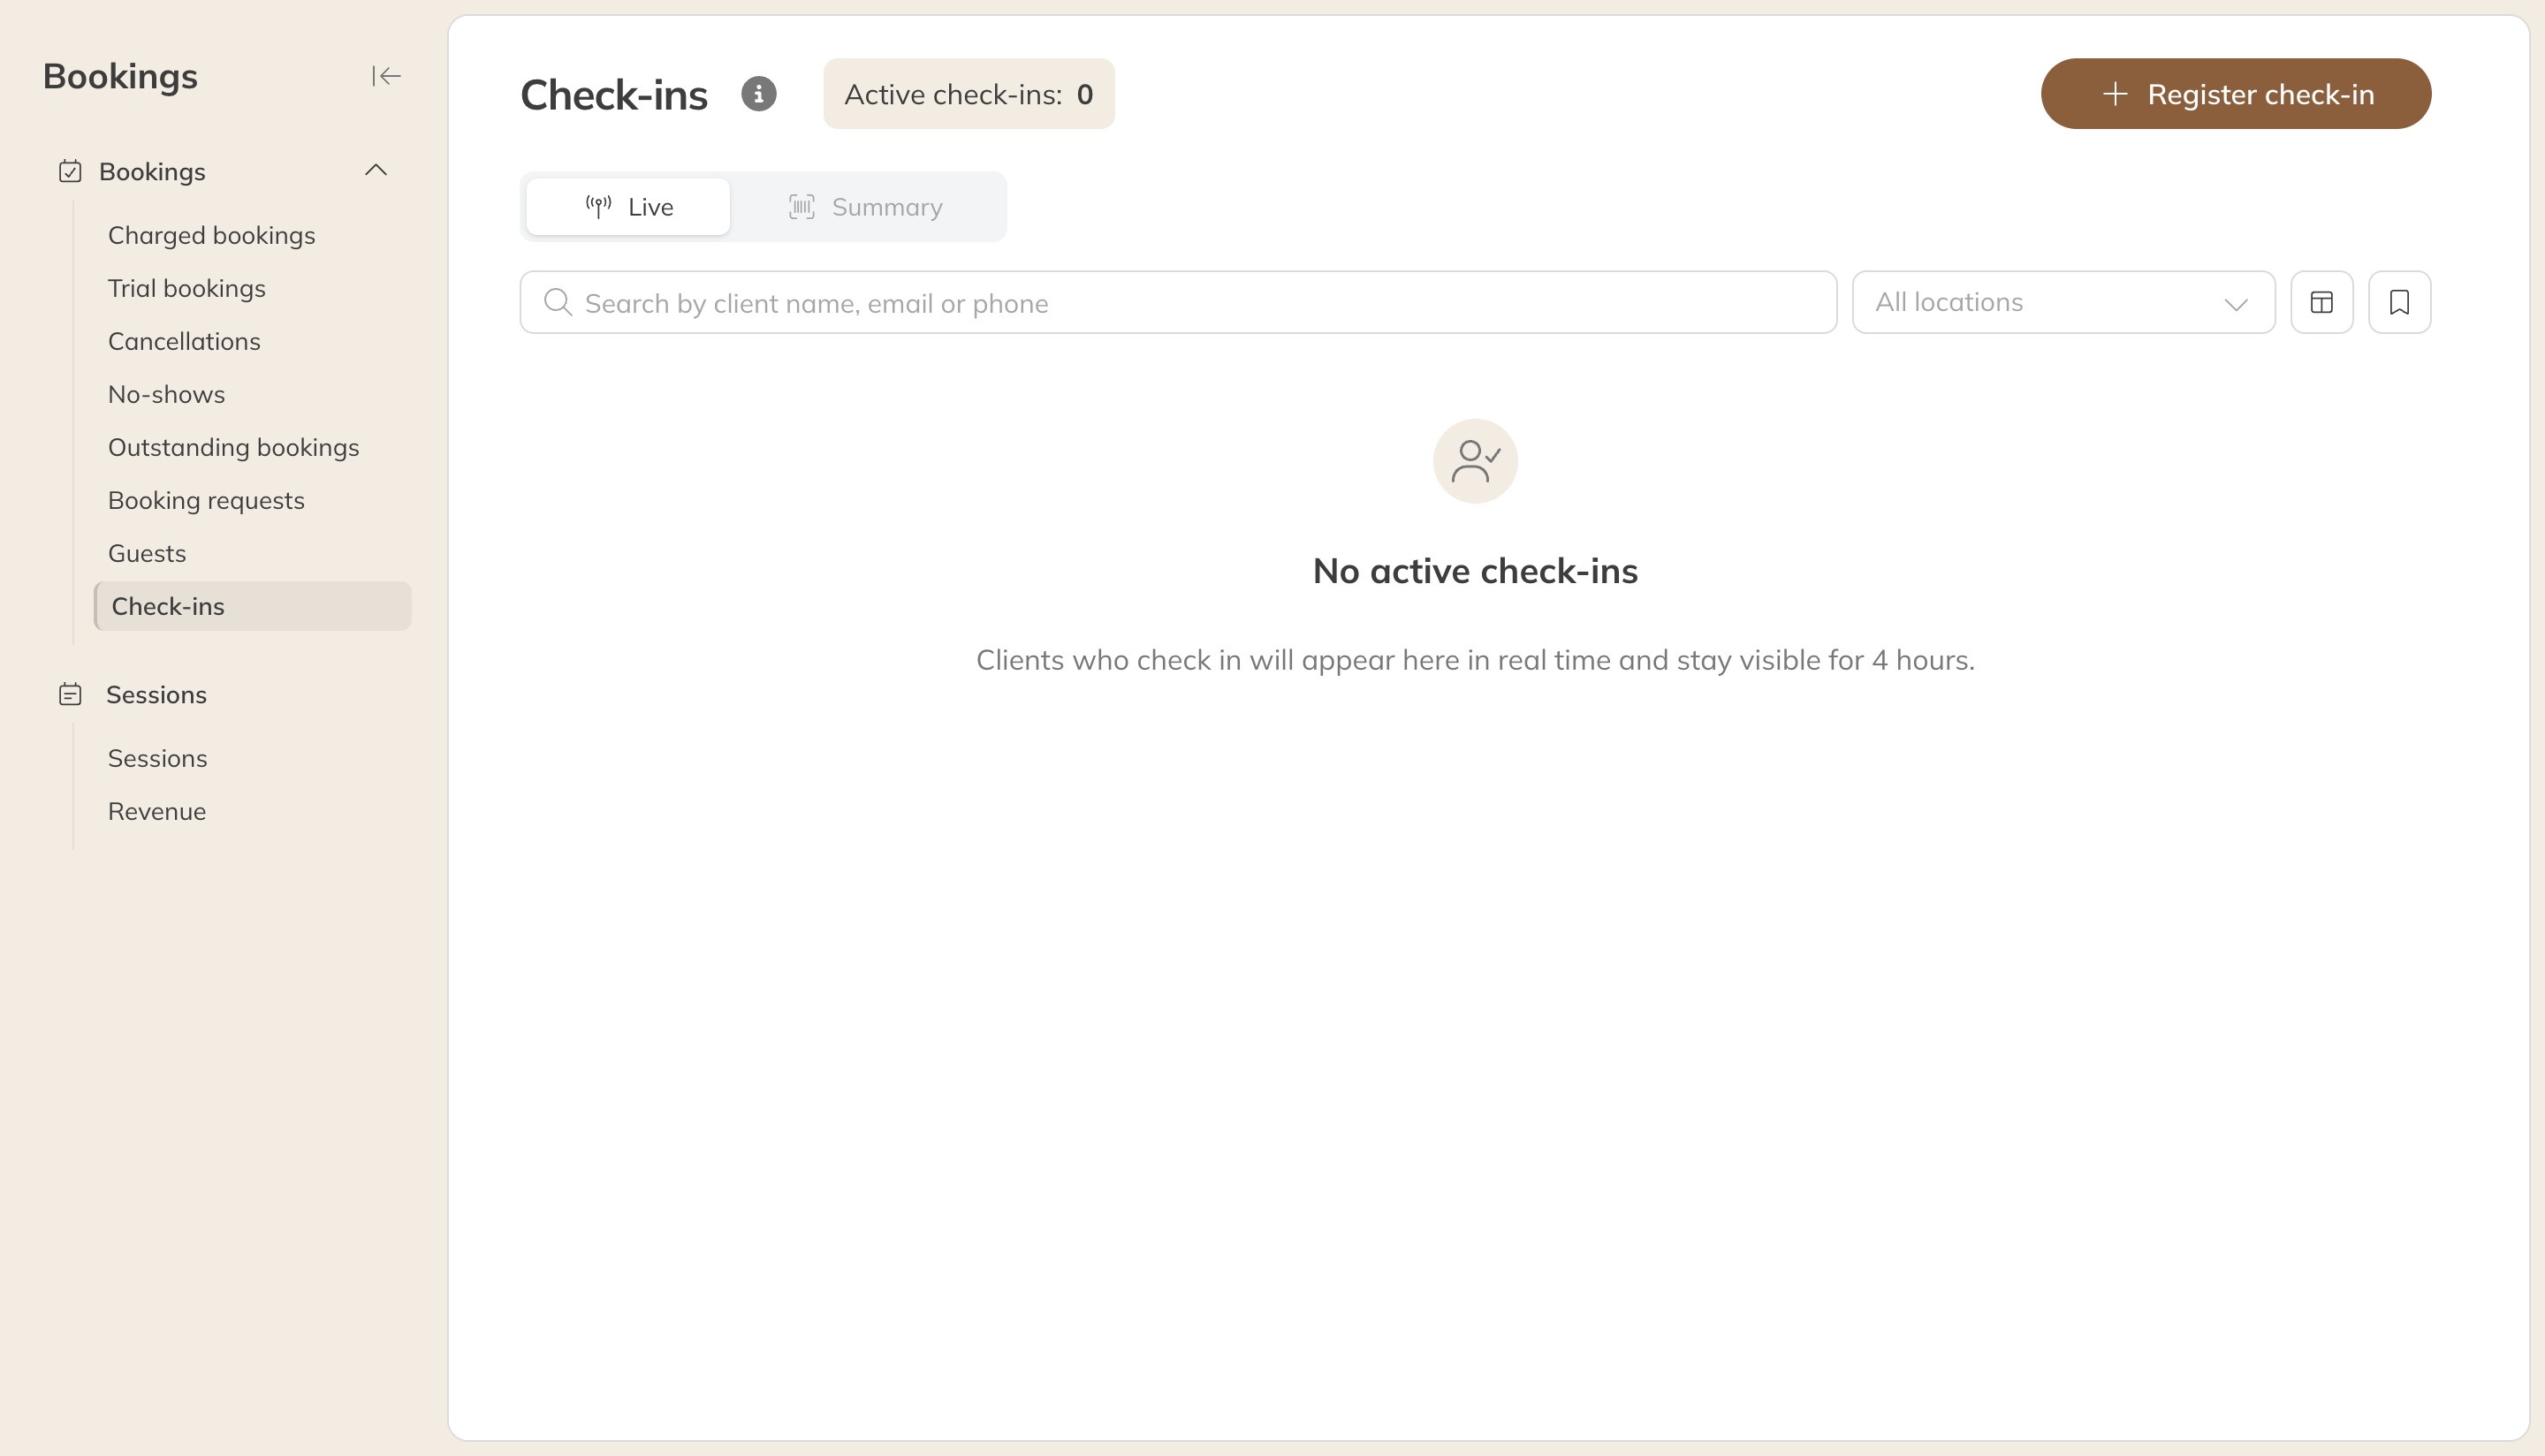
The Live tab
Details: earlier check-ins
On the Details tab you look up check-ins from a period, for example for your own reporting. By default you see this week and only successful check-ins (Confirmed). Use the filters to choose a different period, a status, a product, an activity, the activity type or a location.
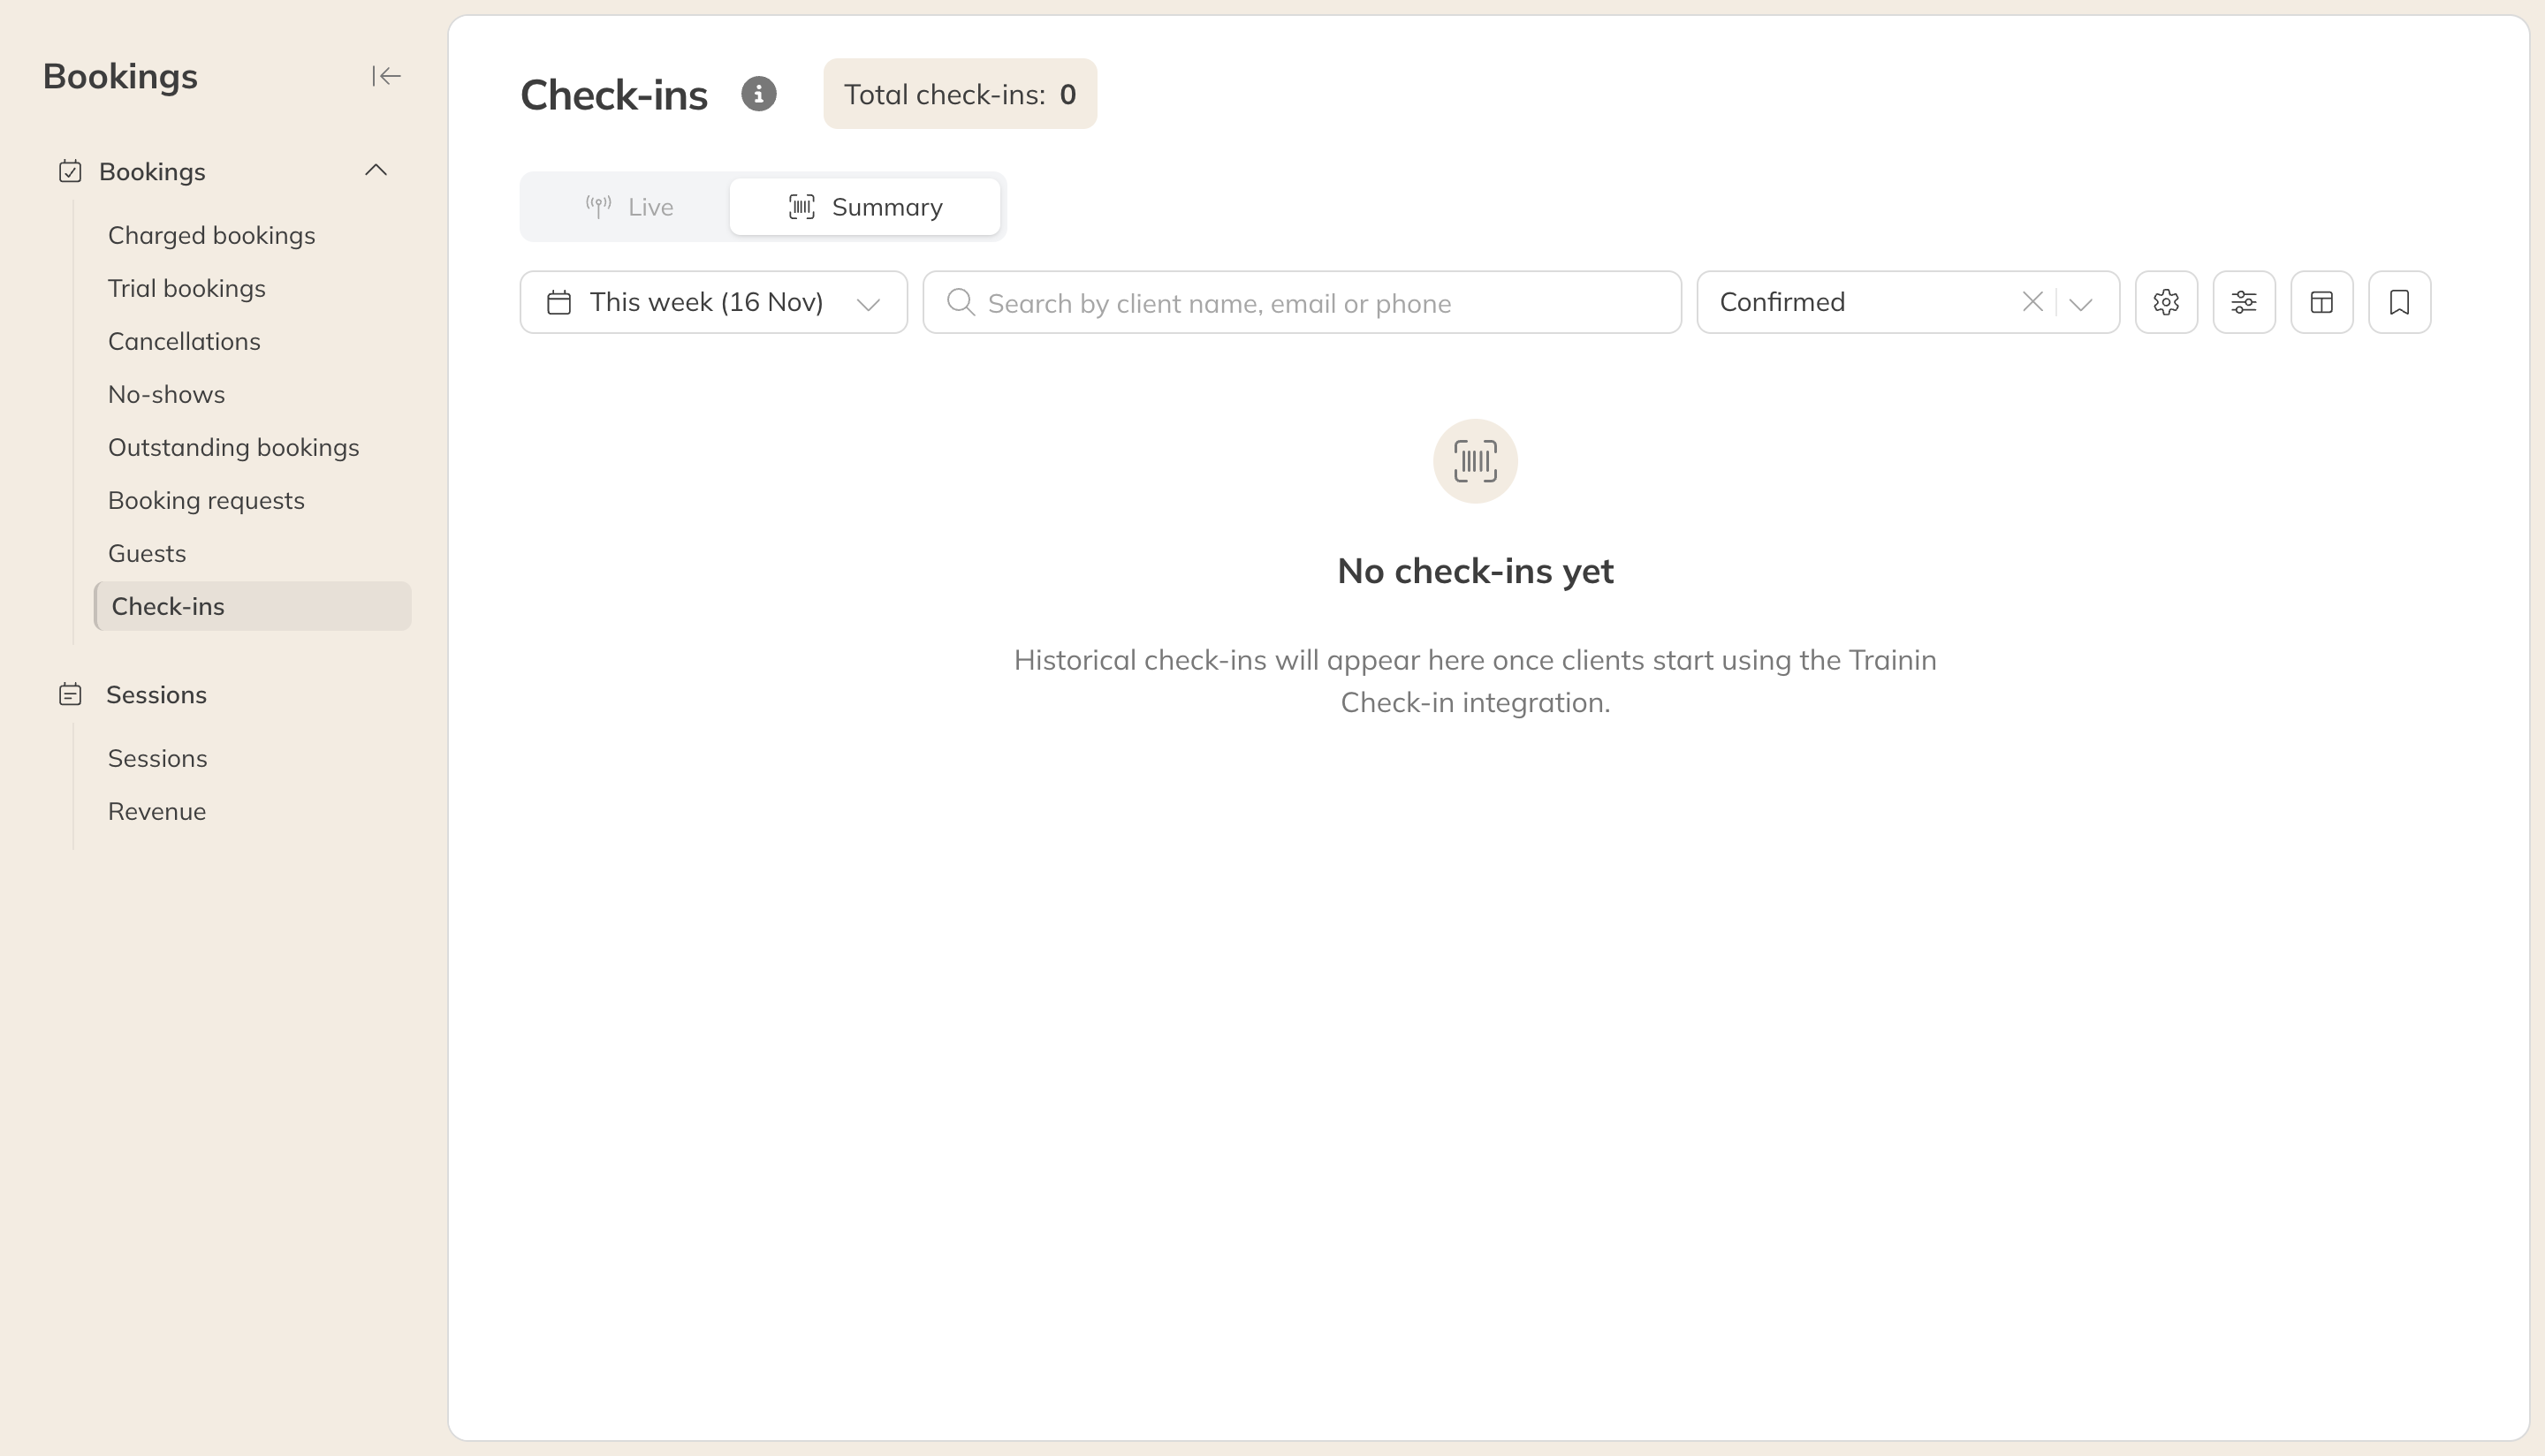
The Details tab
If you also choose Failed as a status, you'll see the clients who were refused at the door. This shows you, for example, who didn't have a valid product. Click a line to open the booking.
Read more about working with these lists, such as choosing columns and exporting, in Lists of bookings and sessions.
Registering an open gym visit at the front desk
Is the scanner broken or has the client forgotten their phone? Then you check them in yourself.
- On the Live tab, click Register check-in. On your phone, that's the +.
- Search for the Client and choose the Location if needed.
- Click Register check-in.
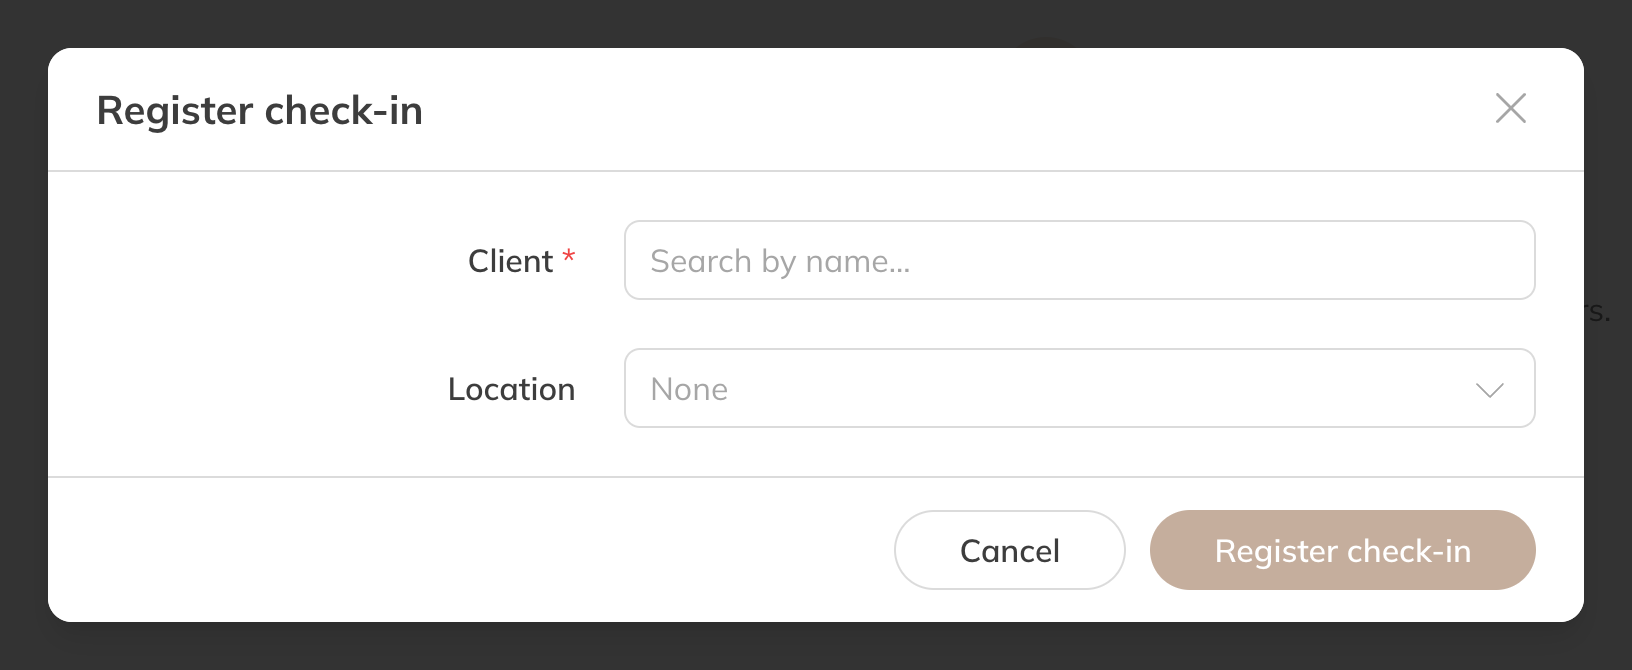
Registering a check-in
This works exactly like an open gym scan: Trainin picks the client's open gym product and deducts the set credits. If the client is already checked in, has no open gym product or no credits left, or their product is blocked, you get a message and nothing is registered. See Which product an open gym visit uses.
Note: You only see the Register check-in button if open gym check-in is on. To check a client in for a class, mark them as attended in the session. See Marking attendees as attended by default.