An embedded widget is a piece of code you paste into a page of your website. Your schedule or your shop then appears in that spot. Visitors book and pay right there, without going to another site.
You find your widgets under My company → Integrations → Embedded widgets. On your phone, tap More → Integrations.
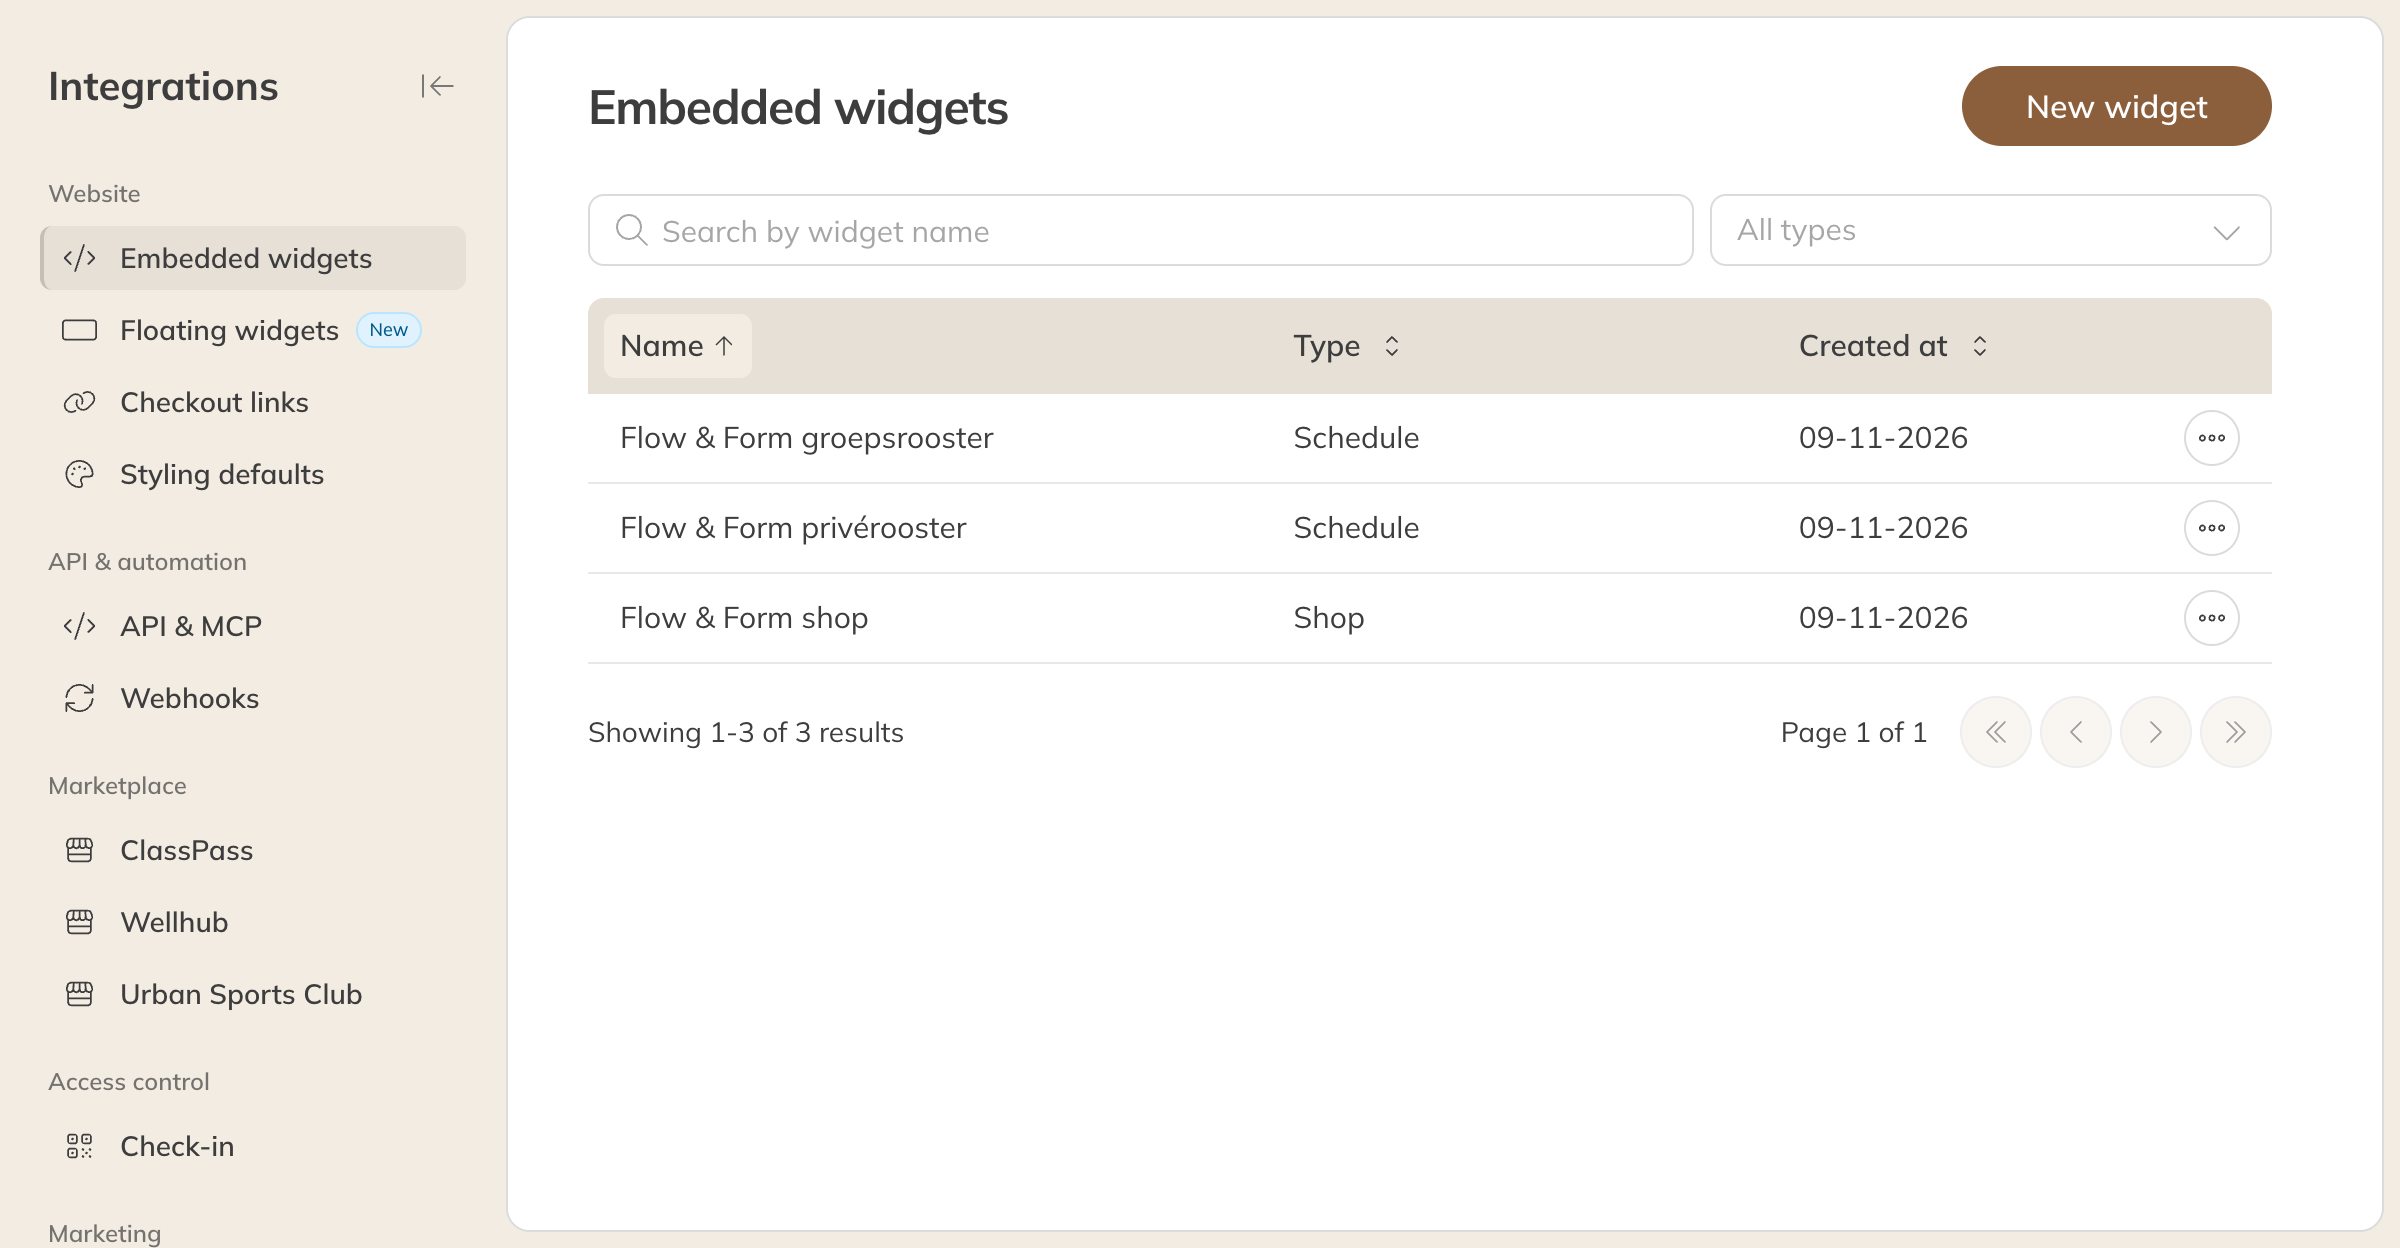
Your embedded widgets
Creating a widget
- Click New widget.
- Choose the Type: Schedule or Shop. You can't change the type later.
- Give the widget a Name, for example Homepage schedule. Only you see this name.
- Click Create. The Edit widget page opens.
- Choose what the widget shows (see below) and click Save.
- At the bottom, under Embed code, copy the code and paste it into your website.
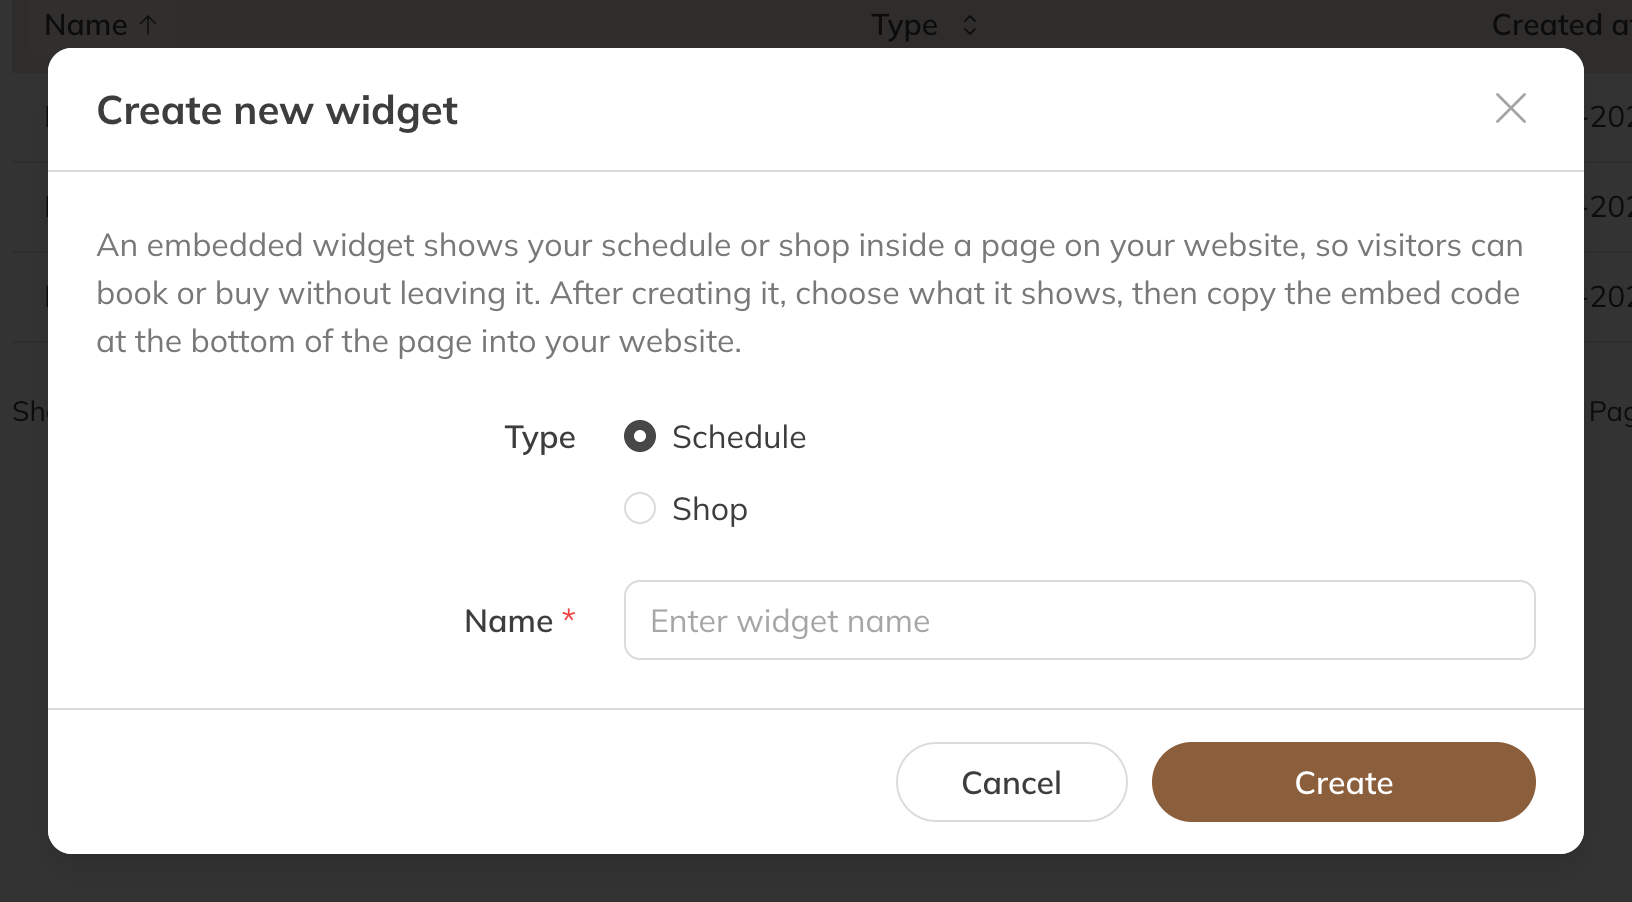
Creating a new widget
Tip: You can create several widgets, for example a group schedule for your homepage and a separate widget with only your private sessions.
Setting up a schedule widget
| Option | What happens |
|---|---|
| Schedule type | All types, or only Group, Private or Rental. You only see the types you have activities for. |
| Default view | Only for group classes: List or Grid on a computer |
| List view period | Which period the list shows, such as Week, Single day or Next 7 days |
| Locations | Only show sessions at certain locations |
Under More settings you can limit the widget further to certain Activity categories, Activities, Staff or Rooms or resources. If you leave a field empty, the widget shows everything.
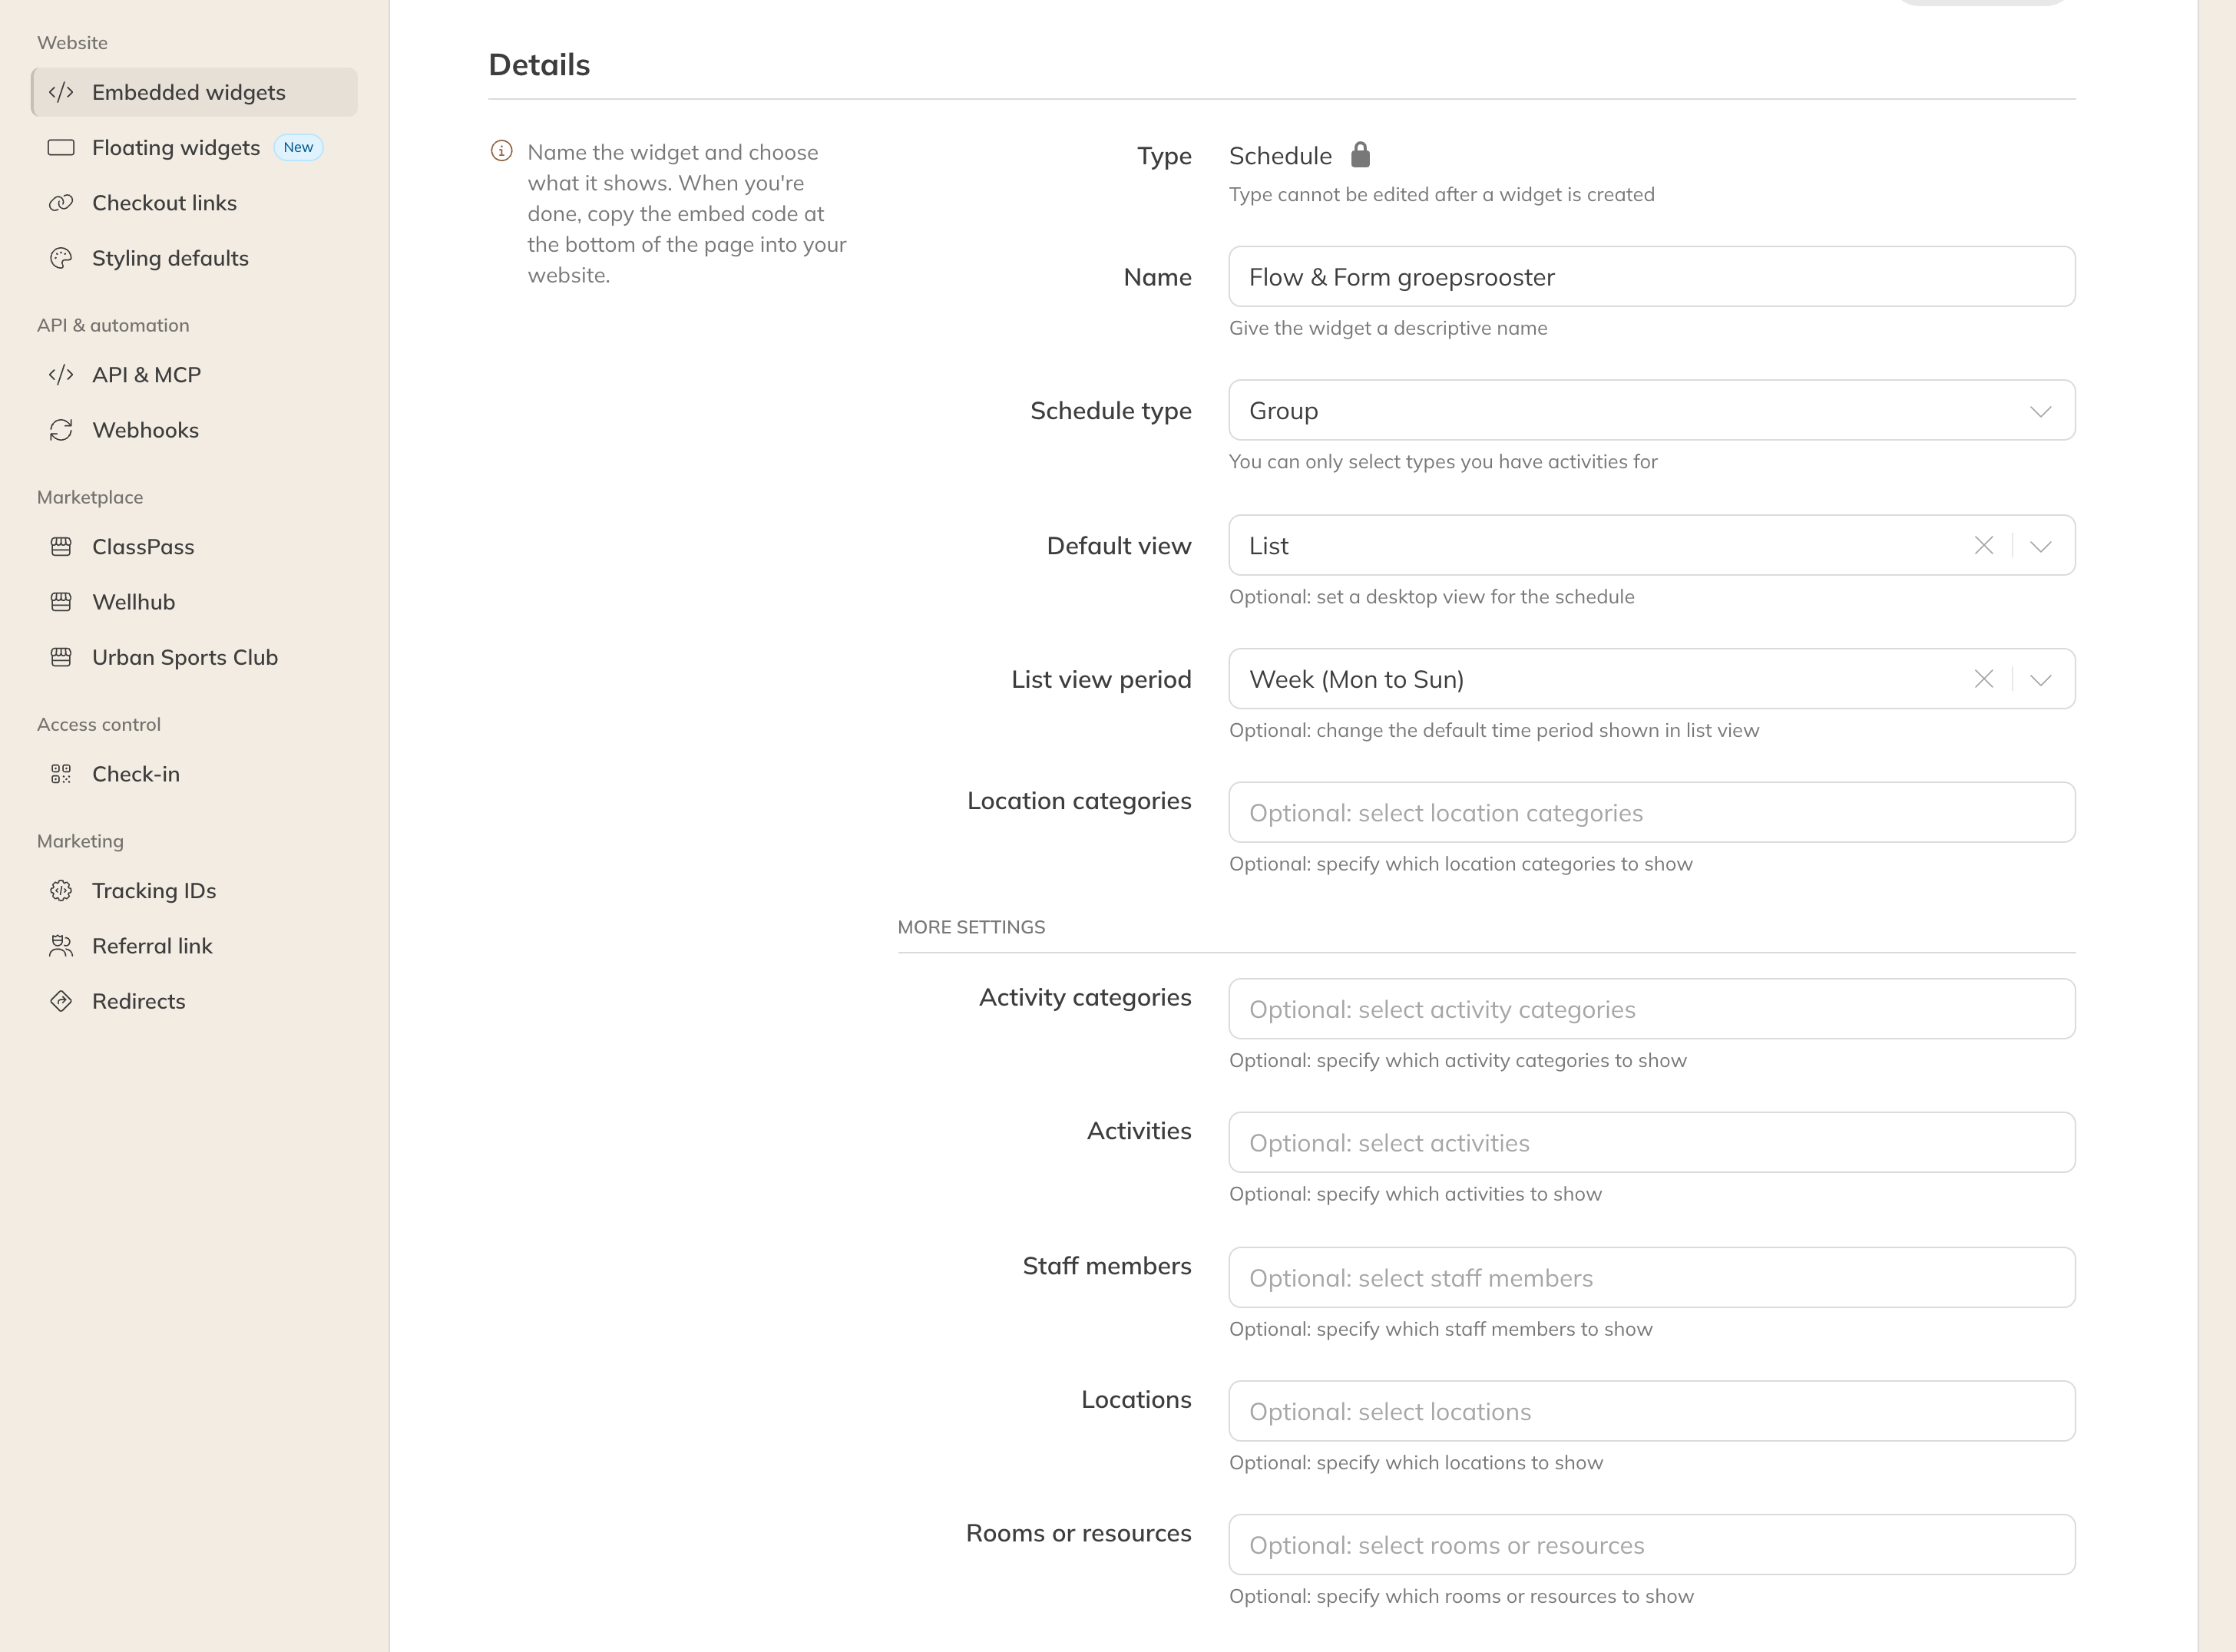
The settings of a schedule widget
Note: A free activity (without a product) is only visible to logged-in clients. Visitors to your website don't see it in the widget. If you choose such an activity, Trainin warns you.
Setting up a shop widget
| Option | What happens |
|---|---|
| Shop type | All products, only Credit products (class passes and memberships) or only Retail & bar products |
| Credit product categories / Retail product categories | Only show products from certain categories |
Under More settings you also choose the product types and the Locations where the products are sold.
More settings for both types
| Option | What happens |
|---|---|
| Trial products | With Only trial products, clients can only buy a trial product through this widget. Useful for a page aimed at new clients. |
| Language | Show the widget in a language other than your default language |
| Referral | A label on every sale made through this widget. See Tracking sales through a referral link. |
| Redirect URL | The page clients go to after a purchase. See Sending clients to your own page. |
| CSS class | For your web designer: a name they can use to style the widget from your own website |
Note: Referral and Redirect URL are included in the Pro and Premium plans.
Embed code, link, preview and domains
At the bottom of the page is the Widget block with four tabs:
| Tab | What you do there |
|---|---|
| Embed code | The code you paste into your website. If your website builder only allows code in its settings, turn on Script only. |
| Link | A normal link to your schedule or shop, with the filters and styling of this widget. Put it behind a button or menu item, or share it. Don't paste it as an embed or iframe. |
| Preview | How the widget looks, on Mobile and Desktop |
| Domains | Which websites your widgets may be shown on (see below) |
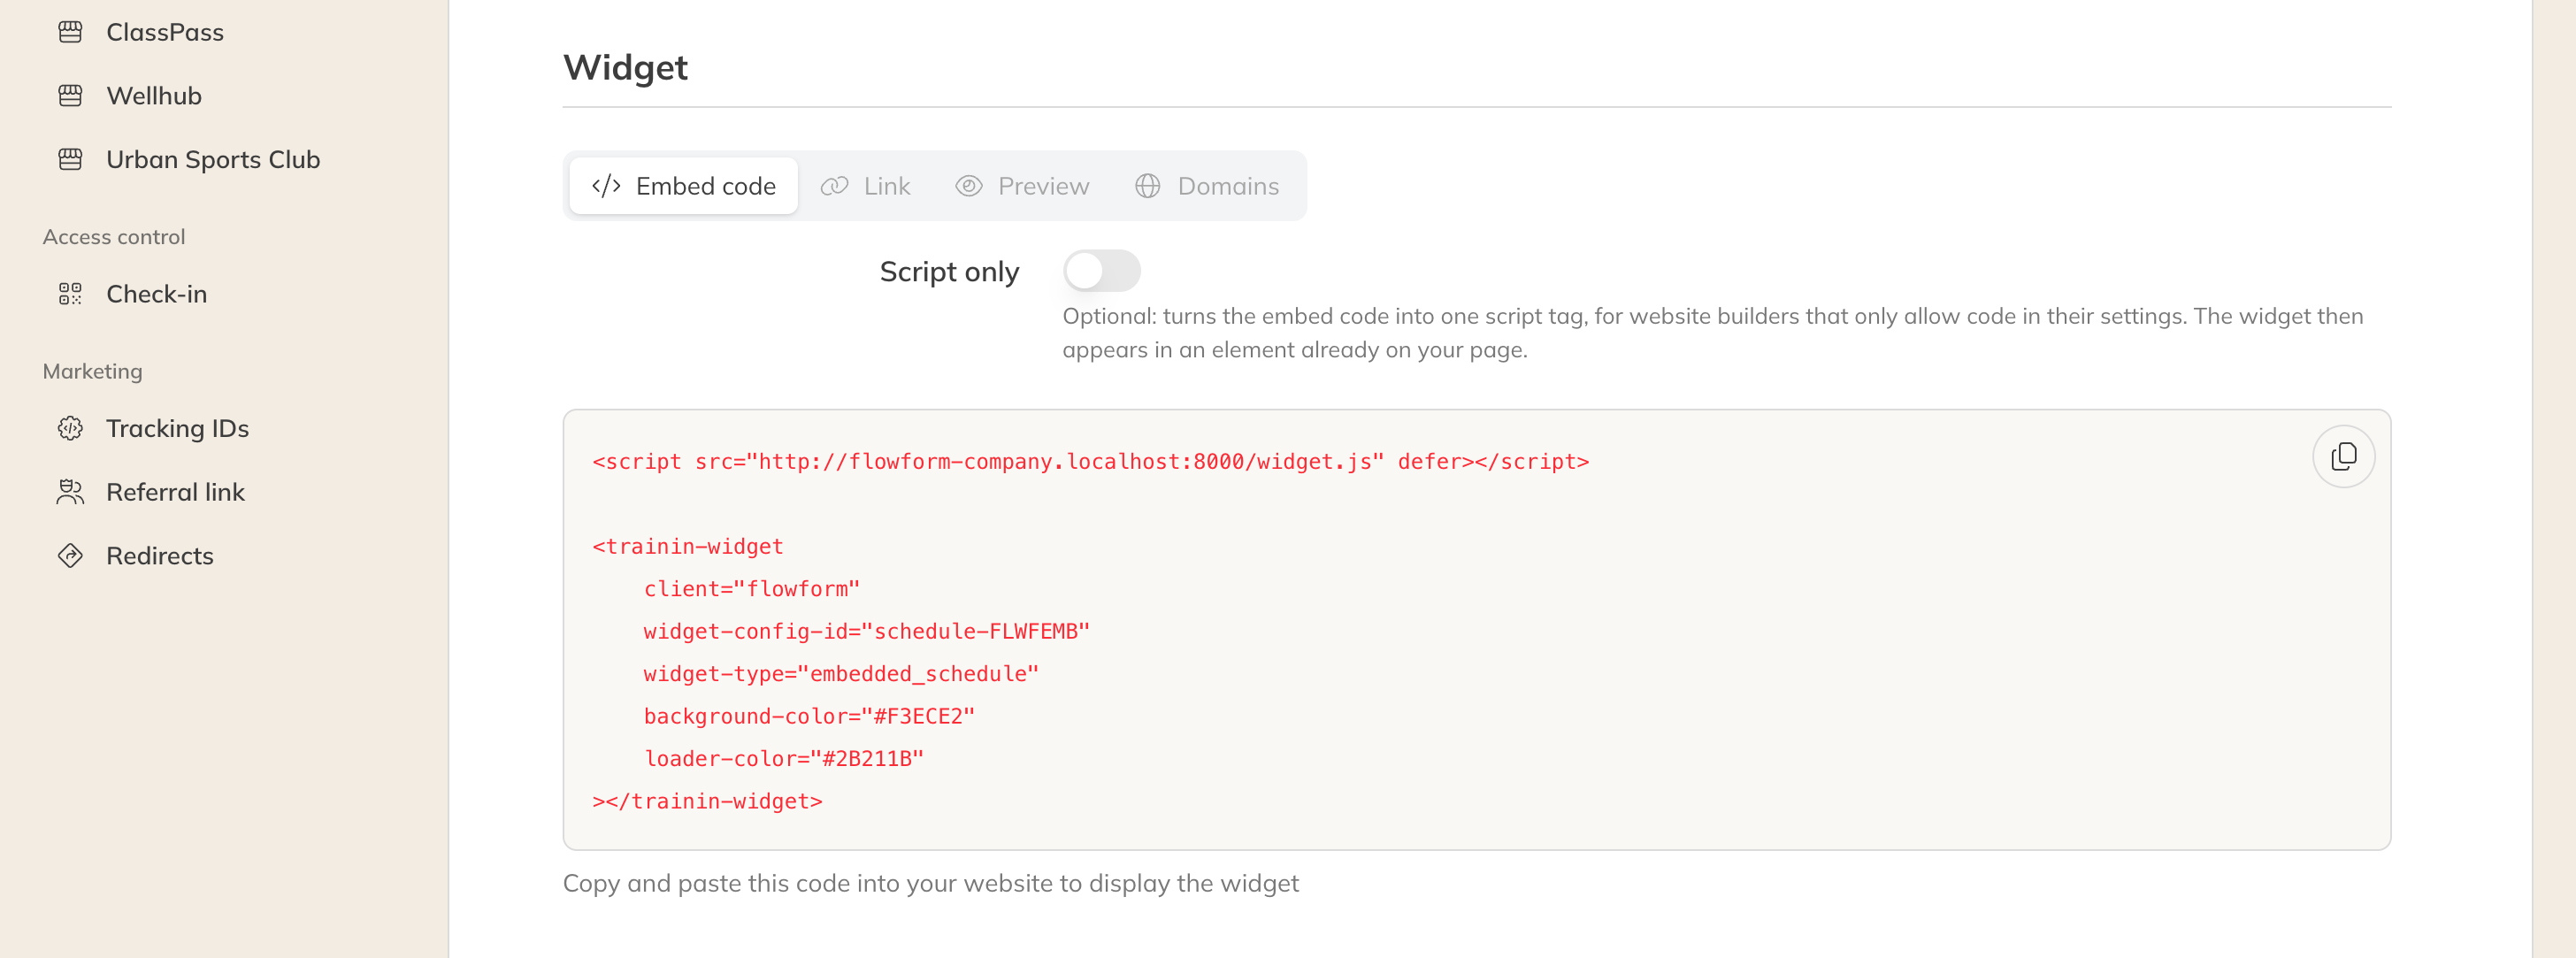
The embed code of a widget
Note: Changed and saved the widget? Replace the code on your website with the new code. Only then will you see the change on your site.
Which websites can the widget be on?
By default, Allow all domains is on: your widgets work on any website. If you turn it off, you enter the websites where they are allowed yourself. Use https://yoursite.com for one site or https://*.yoursite.com for all subdomains. The website in your company profile is always allowed.
This setting applies to all your widgets, even though you set it on one widget.

The Domains tab
Does the widget work if my schedule isn't public?
Yes. A widget on your website is always public, even if your schedule in the Client app is only visible to clients or is turned off (see Schedule settings for the Client app and widget). The Link doesn't work then: it opens your own schedule page, and Trainin warns you with This link doesn't work yet. If your shop is turned off, neither the link nor the widget works.
A link to a single product
Want a button on your site that goes straight to one product? Choose Checkout links and copy the product's link. The link opens a Trainin checkout page, so you don't need to paste anything into your website. You only see products here that are visible in the shop or can be bought through a link.
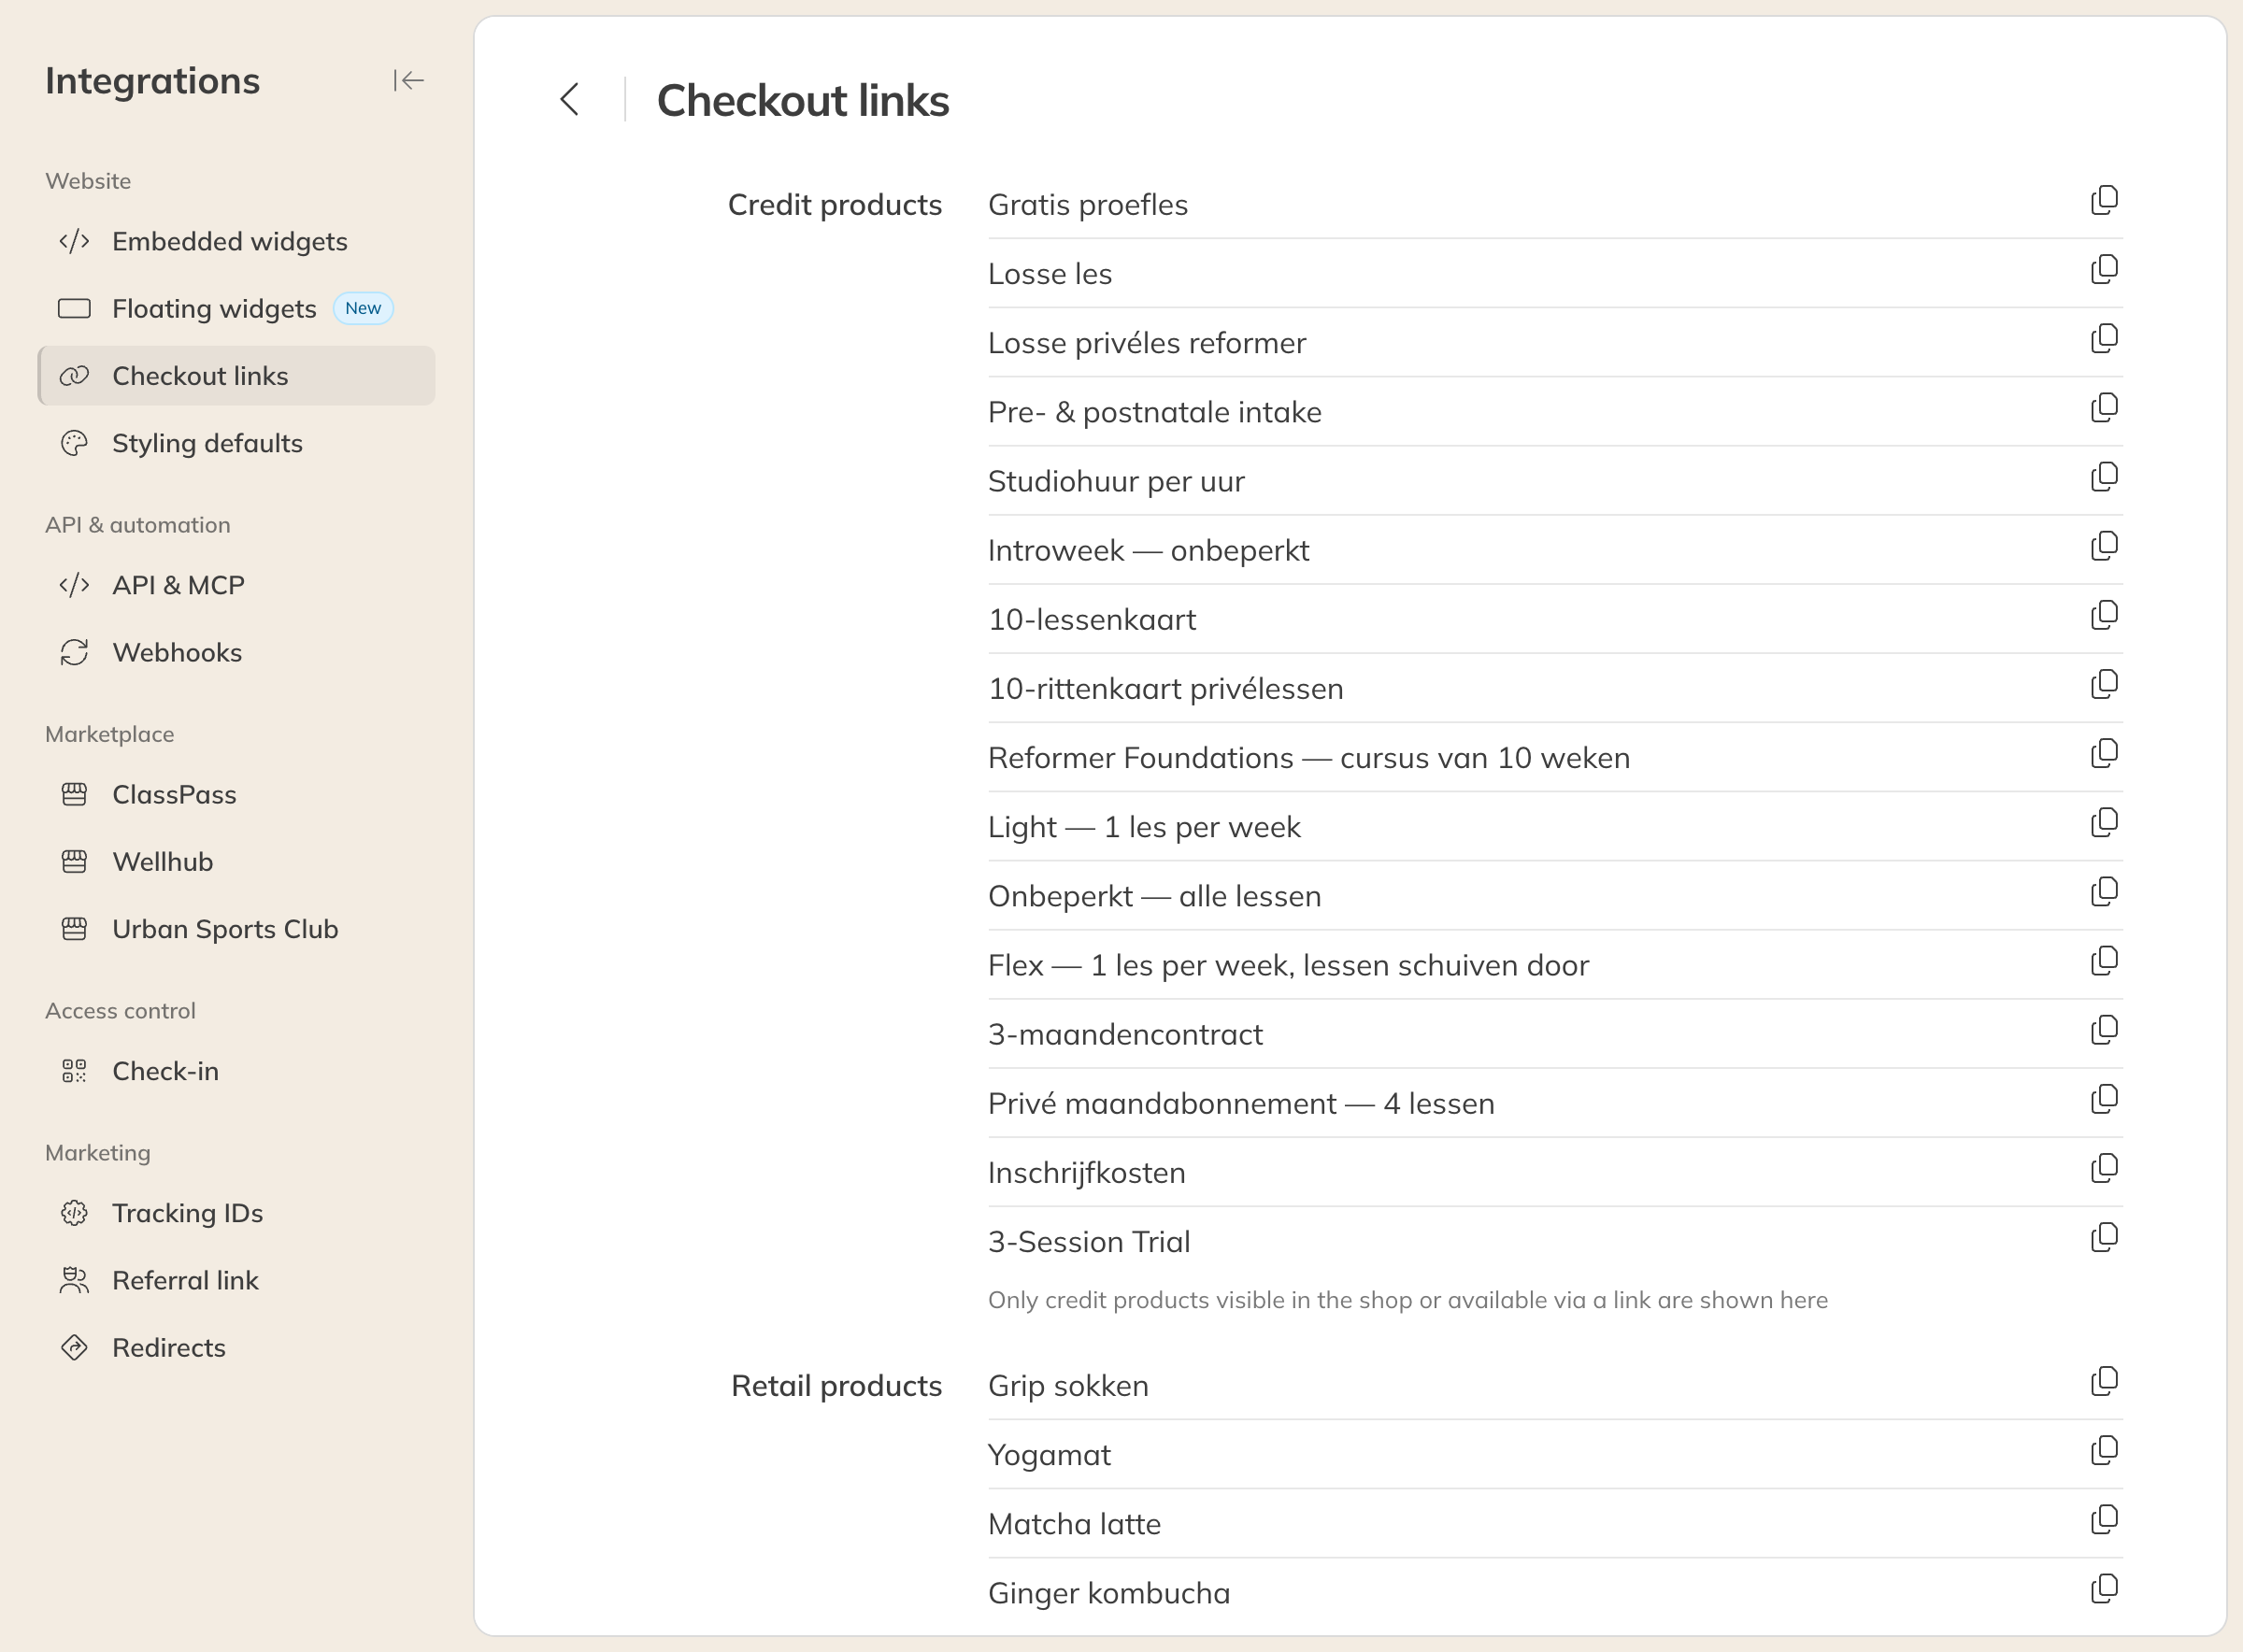
Checkout links per product
Tip: Not sure where to paste the code in your website? Let your web designer do it. Whoever manages your website can get their own account with a role that is allowed to manage widgets. See Roles and permissions.